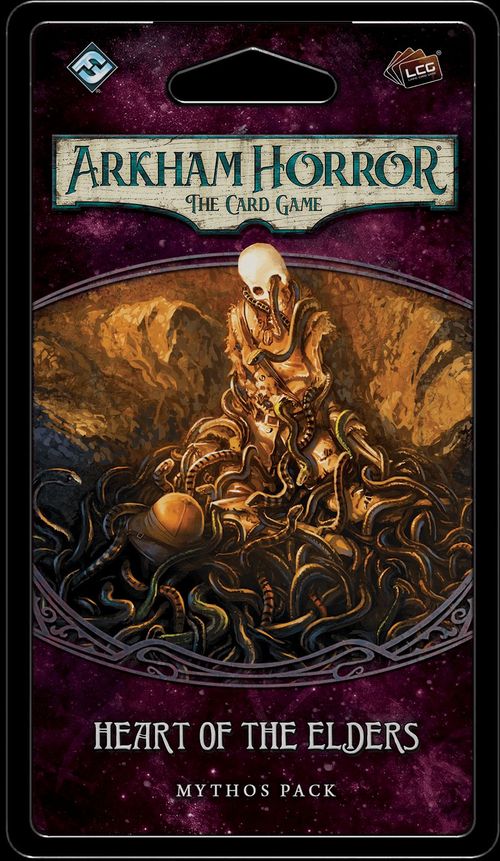
Arkham Horror: The Card Game – Heart of the Elders: Mythos Pack
Arkham Horror: The Card Game – Heart of the Elders: Mythos Pack Rulebook
Table of Contents
Table of Contents
Scenario V–A: Heart of the Elders, Part 1
Intro 1
It has been several days since your party ventured forth into the rainforest once more, and each day, the hazards you face grow more dangerous and frequent. Securing enough food and supplies for the journey is a constant struggle, and you are harrassed at every turn by the jungle's inhabitants. Fortunately, you have seen no sign yet of the serpent people who attacked the previous expedition, but you're positive they are out there. Watching. Waiting.
On the morning of the sixth day, you find the entrance. It is a huge cave opening, partially obscured by trees, brush, and vines. You nearly missed the great cavern maw altogether, despite its enormity. Surrounding the cavern's entrance are six stone pillars, each covered in strange grooves and carvings that glow with a dim red hue. Perhaps one of your guides will understand what this means?
The investigators must decide (choose one):
- Let's consult with Ichtaca. Choose this option only if Ichtaca is in an investigator's deck. Proceed to Intro 2.
- Let's consult with Alejandro. Choose this option only if Alejandro Vela is in an investigator's deck. Skip to Intro 3.
- Let's consult the expedition journal. Choose this option only if the Expedition Journal is in an investigator's deck. Skip to Intro 4.
- I wish we knew more about this... Skip to Setup.
Intro 2
"The entrance is warded against intruders," Ichtaca says cryptically, her eyes closed as though probing the cavern with unnatural senses. "These pillars are the key. Each is a test of wit and will." She steps toward one of them and touches it with her palm, and its glow brightens. You notice now that the grooves along the pillar's foundation depict a pattern you have seen somewhere before. If Ichtaca believes this place to be warded, you trust her opinion—there must be some way to break these wards…
Begin this scenario with Ichtaca in play. Skip to Setup.
Intro 3
Alejandro examines each of the pillars studiously. "It is a lock of some sort. Look here, see? The grooves do not line up perfectly." He twists one of the pillars, and you can see the pattern along its side shifting. "I wager if we entered the cave, we would not get very far without these pillars in the correct formation. Just a hunch, I suppose…But I think we should examine this area further before we proceed." You know Alejandro well enough by now to know that his hunches tend to be correct.
Begin this scenario with Alejandro Vela in play. Skip to Setup.
Intro 4
The previous expedition's journal doesn't have all the answers, but as you browse its pages, you are struck by a familiar diagram—one drawn by Lorenzo, an expedition member who never made it back to Arkham. It is a delicate recreation of a carving that was on the wall of one of the Eztli ruins. Many of the patterns and hieroglyphs you see in this drawing are shared among these pillars. It cannot simply be a coincidence. These pillars are surely the key to finding your way to N'kai…
Begin this scenario with Expedition Journal in play. Proceed to Setup.
Standalone Mode
If you are playing in Standalone Mode and do not wish to refer to any other setup/resolutions, you may use the information below when setting up and playing this scenario:
- Assemble the chaos bag using the following tokens: +1, 0, 0, 0, –1, –2, –2, –3, –5, skull, skull, cultist, tablet, elder thing, [icon], [icon].
- When playing Heart of the Elders, Part 1, the investigators may choose how many paths are known to you (choose a number between 0 and 5). The more paths are known to you, the quicker and easier the scenario will be.
- For a quick and simple experience, choose 4 or 5.
- For an average experience, choose 2 or 3.
- For the ultimate challenge, choose 0 or 1.
- You have no supplies.
Setup
- Check Campaign Log. If 6 paths are known to you, skip this scenario and proceed immediately to Resolution 1.
- Gather all cards from the following encounter sets. These sets are indicated by icons in the printed rulebook: Pillars of Judgment, Heart of the Elders, Rainforest, Serpents, Expedition, and Poison.
- Put the Mouth of K'n-yan into play, (The Cavern's Maw) side faceup. Each investigator begins play at the Mouth of K'n-yan (The Cavern's Maw).
- Check Campaign Log. Your journey beyond the boundary of time has granted you insight into how to enter K'n-yan. For each path that is known to you, place 1 resource on the Mouth of K'n-yan, as a pillar token.
- If you have played this scenario before during this campaign and have reached act 2 before, flip act 1a over and place it in the Mouth of K'n-yan.
- Create the exploration deck. This is done by taking the 6 single-sided Jungle locations and shuffling them together, along with 1 copy each of the following encounter cards: Pitfall, Ants!, Lost in the Wilds, and Low on Supplies.
- Randomly choose one of the following 3 Ruins locations: Overgrown Ruins, Temple of the Fang, and Stone Altar. Shuffle the randomly chosen location into the exploration deck. Remove the other 2 from the game.
- Check Campaign Log. If the investigators mapped out the way forward, instead of shuffling the randomly chosen location into the exploration deck, put it into play.
- Set aside each Poisoned weakness that is not already in an investigator's deck.
- Shuffle the remainder of the encounter cards to build the encounter deck.
Do Not Read: Until the End of Part 1
Do not read this section until the end of Part 1.
If no resolution was reached (each investigator resigned or was defeated): The hazards of the jungle are too dangerous for you to continue exploring. If you remain any longer, these odd pillars will mark your grave. You decide to flee for now, returning to a familiar clearing several miles away where you can recuperate. You know that you must eventually return to the pillars and figure out the pattern that will open the way forward…but for now, at least you are safe.
- If there are more pillar tokens on the Mouth of K'n-yan than there were when the scenario began, in your Campaign Log, cross out how many paths are known to you. Then, record that X paths are known to you. X is the number of pillar tokens on the Mouth of K'n-yan.
- The investigators must replay Scenario V-A: Heart of the Elders, Part 1. Reset the game to this scenario's Setup. Do not record anything else in your Campaign Log except for any trauma suffered from your previous game. No experience points are earned from your previous game. Any player whose investigator was killed or driven insane must choose a new investigator to play, as normal.
Resolution 1
Swallowing your fear, you enter the cavern…
- In your Campaign Log, record that the jungle watches. Next to this, in parentheses, record the names of each card with Vengeance X in the victory display. Do not record any tally marks under "Yig's Fury."
- Each investigator earns experience equal to the Victory X value of each card in the victory display.
- Investigators may not spend experience or alter their decks in between Scenarios V-A and V-B. Proceed immediately to Scenario V-B: Heart of the Elders, Part 2.
Scenario V–B: Heart of the Elders, Part 2
Setup
- Gather all cards from the following encounter sets. These sets are indicated by icons in the printed rulebook: K'n-yan, Heart of the Elders, Agents of Yig, Yig's Venom, Forgotten Ruins, Deadly Traps, and Poison.
- Put the Mouth of K'n-yan into play, (The Depths Beneath) side faceup. Each investigator begins play at the Mouth of K'n-yan (The Depths Beneath).
- Search the collection for each card listed in parentheses next to "the jungle watches" in your Campaign Log. Add those cards to the victory display.
- Set the Descent to Yoth location aside, out of play.
- Create the exploration deck. This is done by taking the 5 remaining single-sided locations from the K'n-yan encounter set and shuffling them together, along with 1 copy each of the following encounter cards: Pitfall, No Turning Back, Deep Dark, and Final Mistake.
- Set aside each Poisoned weakness that is not already in an investigator's deck.
- Shuffle the remainder of the encounter cards to build the encounter deck.
Do Not Read: Until the End of Part 2
Do not read this section until the end of Part 2.
If no resolution was reached (each investigator was defeated): You awaken, lying on rough stone in a place much colder and deeper than before. You stand and take stock of your surroundings, noting the red glow that seems to emanate from the cavern to your left. You follow it for several minutes, until finally it leads you into a well-lit entryway, filled with stone pillars. At the far end of the room lies an ornate and elaborately decorated doorway, a stone disc that has been rolled aside to unveil the hellish realm beyond.
- Check Campaign Log.
- If the investigators rescued Alejandro, proceed to Resolution 1.
- If Alejandro is missing, proceed to Resolution 2.
Resolution 1
"Finally! Yoth, cavern of the serpents! The cursed ones, who fled the destruction of Valusia!" Alejandro examines the entryway with wonder in his eyes, arms raised in exultation. You know not of what he speaks, and you are beginning to grow worried. Just then, something scutters behind you, and a sound like the click-clacking of a claw catches you by surprise. Emerging from the darkness behind you are several alien creatures, the likes of which you have never seen: ten feet tall, with conical bodies that end in four strange appendages of varying lengths. "There you are," Alejandro says calmly. One of the creatures responds by clicking its claws against one another in a deliberate pattern. "Take their minds," Alejandro commands the creatures. "We have no further use for them." It is your last human memory.
- If the Harbinger of Valusia entered play during this scenario:
- If it is in the victory display, cross out "the Harbinger is still alive" in your Campaign Log.
- If it is still in play or is set aside, next to "the Harbinger is still alive" in your Campaign Log, record in parentheses how much damage is on the Harbinger of Valusia, replacing the number that was previously in parentheses.
- For each vengeance point in the victory display, record one tally mark under "Yig's Fury" in your Campaign Log.
- Each investigator earns experience equal to the Victory X value of each card in the victory display.
Resolution 2
Before you are able to cross into the next layer of the cavern, a sound like the click-clacking of a claw catches you by surprise. Emerging from the darkness behind you are several alien creatures, the likes of which you have never seen: ten feet tall, with conical bodies that end in four strange appendages of varying lengths. You are stunned to see a human figure standing at the head of the group: none other than Alejandro Vela. "Take their minds," Alejandro commands the creatures. "We have no further use for them." It is your last human memory.
- If the Harbinger of Valusia entered play during this scenario:
- If it is in the victory display, cross out "the Harbinger is still alive" in your Campaign Log.
- If it is still in play or is set aside, next to "the Harbinger is still alive" in your Campaign Log, record in parentheses how much damage is on the Harbinger of Valusia, replacing the number that was previously in parentheses.
- For each vengeance point in the victory display, record one tally mark under "Yig's Fury" in your Campaign Log.
- Each investigator earns experience equal to the Victory X value of each card in the victory display.