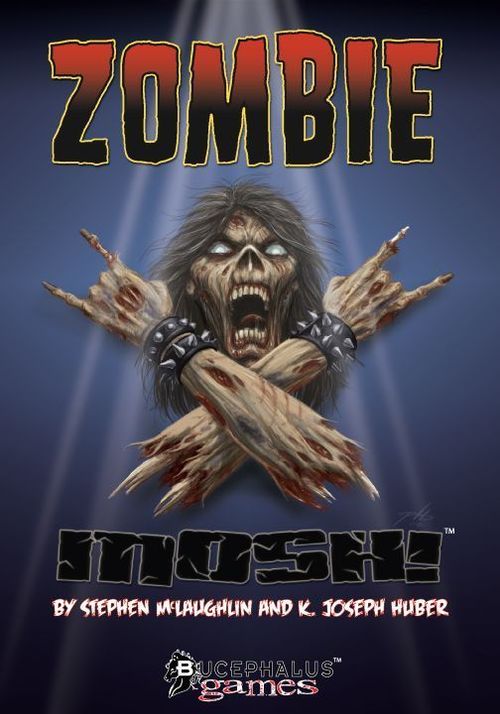
Zombie Mosh!
Zombie Mosh! Rulebook
Table of Contents
Table of Contents
Objective
Your goal is to be the last zombie standing in the pit. You will certainly give your best, but you will also take a few badly placed and very painful blows. As your limbs are hit, they accumulate damage and may eventually come off. If you lose 3 limbs, you must leave the pit to recover until the next song. Can you stay intact long enough while you massacre the other zombies?
Components
- 50 Zombie cards
- 6 Zombie Character boards
- 48 Damage tokens
- 1 First Player token
- These rules
Setup
- Each player selects a Zombie Character board. Note that these boards have two sides, A and B. Side B is for experienced players. We recommend that your first game be played with side A. In all cases, check that all players are using the same side.
- Place the Damage tokens so that everyone can reach them. You will need them as your zombie falls apart.
- Randomly determine who is the first player.
- Shuffle the cards and place them in the centre of the table.
About the Cards
Each card has two edges, representing two distinct parts of the body. The placement of the card on the table is therefore essential to know which edge is being played. When a card is played against you, that is, when another player decides to attack a limb of your character, the targeted limb must be shown facing you (so, closest to you). This determines what is targeted and, possibly, damaged. When you defend (try to avoid a damage), the limb you are defending must instead face the limb targeted by the attack (furthest from you).
Turn Order
Each turn you play cards either to attack the other zombies in the pit, or to defend yourself against attacks aimed at you. To do so, follow these steps:
1) The Prelude
The first player deals 4 cards to every player.
2) The Crowd Attack
The first player draws two cards at random and places them with his left-hand neighbour. These cards are placed precisely next to the player's Zombie Character board, at the top right. These cards now form the attack line (the "hit" line on the diagram). The first player repeats the same action, in clockwise order, with all the other players, including himself. These cards must be placed at random; nobody chooses the limbs targeted.
As a result, every player must now have two cards facing them (two attacks).
3) Dance, Zombie, Dance!
Starting with the first player and continuing clockwise, each player now plays 2 cards from their hand. They may use them either to defend themselves, or to add them to the attack lines of the other players.
To defend: place the edge/limb of your card, facing the attack line (away from you), along your Zombie Character board on the right. Only the edge that faces the attack line is taken into account; the other edge/limb is simply ignored. For example: if your "head" has been attacked (the "head" edge of a card faces you on the attack line) and you want to defend yourself, play a card from your hand that has a "head" edge onto your defence line, with the "head" edge facing the edge of the other card. Note: the cards do not need to be exactly face to face (in the same order along the line).
To attack another zombie: place your card in the attack line of a player. Place the card according to the edge/limb you are attacking: the part targeted by your attack must face that player (that is, face their defence line). The other edge of the card is simply ignored.
Note: you may only attack the other characters, never your own. Likewise, you may never defend another player.
Once the first player has played his two cards, each player does the same in turn, following clockwise order. Once everyone has played, each player is left with two cards in hand. The turn then begins again, but in counter-clockwise order, starting with the player who played last. The first player must therefore now play last (see diagram).
4) Counting the Damage
Once everyone has played their 4 cards in hand, it is time to find out who takes damage. Make pairs with identical edges/limbs in the two lines: match the attacked limbs with the identical defended limbs. As soon as you can make a pair, you may discard those cards, and you do not take that damage. For example, if you played a "head" card in your defence line (facing the attack line) and there is a "head" card in the attack line facing you, place these two cards in the discard pile; this attack has no effect on you.
For each attack card that does not find a pair, you take one point of damage on the limb in question. Use the Damage tokens to keep track of the blows received (and therefore the remaining hit points). As soon as a limb takes three or more damage, it falls off (even if it is your head! In any case you do not use it). Any surplus damage in a part that has already fallen, or that has just fallen, is ignored, and cards targeting that limb are discarded without effect.
5) Calming Down Before Starting Again
If you have lost three limbs at this point of the game, you are no longer able to continue and must leave the pit, crawling on the last stumps you have left. You have lost. Conversely, if all the other zombies are forced to leave the pit, it is you who wins.
Note: if all the (remaining) zombies are eliminated in the same turn, the winner is the one who has accumulated the fewest Damage tokens. If there is still a tie, the winner is the one who has the most valid limbs remaining.
The best way to celebrate your victory, in any case, is to start a new game.
If no player has won this turn, leave the Damage tokens on each Zombie Character board and begin a new turn. The first player then passes the First Player token to the player on his left, who now begins the turn. Repeat until only one remains!
Side B: Advanced Rules
Side B of each board shows a variant of the character, in which the durability of the limbs varies. Some limbs now take more or less damage to destroy. Again, as soon as a limb has accumulated the amount of damage indicated, it falls off. Once you have mastered the game with side A, try side B for a more tactical version of Zombie Mosh!
Note: the source sheet does not state the per-limb damage thresholds for side B; they are printed on the boards themselves and are not given in this text.