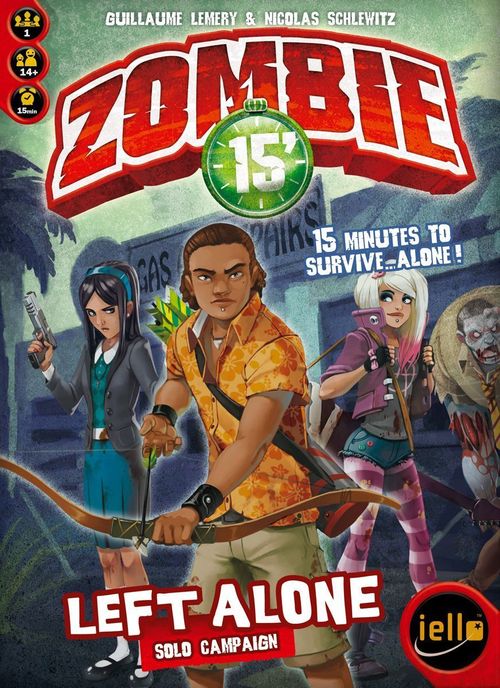
Zombie 15': Left Alone – Solo Campaign
Zombie 15': Left Alone – Solo Campaign Rulebook
Table of Contents
Table of Contents
New Rules
All the rules of the Survival Guide apply, with the exception of the events (p.9 of the Survival Guide) on the cards of the Zombie deck, and the modifications identified below.
Special Rules
Heroes
You do not get to choose which Hero to play. Each scenario specifies which Hero (or Heroes!) you will play.
Horde
At the start of the game, you only add 1 zombie (instead of 3) to the Horde box. Each time you empty the Horde onto the board, place 1 new zombie from the Reserve into the Horde box for the next wave.
Zombie Draw Deck
Preparing the Zombie draw deck is the same for every scenario in this campaign. Take the 16 Zombie cards with the value 1, 2, 3, or 4, which have icons in the lower-right corner of the card. Add 4 Zombie cards without icons: one each of 1A, 2B, 3C, and 4D, such that you now have 20 cards. Shuffle them, and then divide them into two roughly equal piles. Into each pile, shuffle 4 Horde cards. Put one pile atop the other to form the Zombie draw deck, and set it near the gameboard.
Checkpoint
Whenever you change Heroes when going from one scenario to another, the Hero from the scenario that just ended has the option to pass Item Bags that he found to the Hero of the next scenario. These Item Bags can be discarded immediately in order to recover a Special Item.
Example: At the end of Scenario 4, Will can transfer his Item Bags to Josh, which he can use to equip himself for Scenario 5.
Modifications to the Game Turn When You Control Only One Hero
Phase 1: Hero Actions
You must complete at least 3 actions during your turn. Using the 4th action is optional.
Note: If you have a "–1 Action" token, you must complete at least 2 actions, and then your 3rd action is optional.
Phase 2: Zombie Attack
The normal rules apply.
Phase 3: Next Player
Because you are the only player, there is no Phase 3: You don't need to say "Your Turn!"
Once you have completed your actions (mandatory and optional), and resolved Phase 2: Zombie Attack, you can start the next turn immediately.
Thus, if you hear a zombie growl after you have completed your mandatory actions, and you were already able to fend off the zombies that were in your Area before the growl, simply start a new turn, with the zombies arriving at the beginning of that new turn.
Example: In her 3rd action, Severity moves into a Street Area containing 2 zombies. She hears a zombie growl. She is equipped with a Baseball Bat, which has a Fend Off value of 3, and easily fends off the 2 zombies in her Area. Therefore, her new turn starts automatically with the zombies: She draws a card from the Zombie deck, and places the new zombies in her Street Zone. She uses her 3 or 4 actions to eliminate as many zombies as she can before she faces Phase 2: Zombie Attack.
Modifications to the Game Turn When You Control Multiple Heroes
Some of these scenarios feature multiple Heroes. You alternate between playing each Hero. You can play these scenarios with 2 players, if you wish.
Phase 1: Hero Actions
The normal base game rules apply: You can perform as many or as few actions as you like with the active Hero (up to the limit of 4 actions, of course).
Phase 2: Zombie Attack
The normal rules apply.
Phase 3: Next Player
The normal base game rules apply: When you have performed all a Hero's actions, and resolved the Zombie Attack, you say, "Your turn!" to indicate that you are switching Heroes. This is to clearly delineate which Hero is active in case a zombie growl occurs on the soundtrack.
Important: In order to keep track of where you are in your actions, you must clearly state your actions. Example: "1, I move. 2, I kill the zombies. 3, I enter the building."
Scenario 1 – School Is Out
The bell rang ages ago; Severity is out of school, waiting for her father. It's been less than a year since the two of them moved into this neighborhood, and every day, he picks her up from school, so she can avoid taking the bus and having to socialize with the other students. Sitting on a bench beside a deserted construction site of the mall, she looks at the time. Almost an hour late: He's probably still at the police station, so busy that he has forgotten to come get her. She sighs. It's not that far to walk, but the idea of walking annoys her. Just as she starts to get up, two strange beings with a menacing gait appear around the street corner. They are quite disturbing. They are monstrous. Without giving in to panic, she finds something with which she can defend herself on a table in the construction site, and she starts down the street, determined to make her way to her father at the police station.
Hero: Severity
Victory Condition
Severity is in the Search Area of the Exit tile, the Police Station (14-A), which must be free from zombies, before the end of the soundtrack (arrival of the Horde).
Defeat Conditions
Severity is unconscious, or the the soundtrack ends before the Victory Condition is met.
Note: "the the" is printed as such in the source.
Setup
Soundtrack: Track #2 (a growl every 60 seconds).
Starting Items: Severity begins with the Scenario (2-sided) cards Nail Gun and Crowbar.
Game Board: Use the following tiles: 02-B, 03-B, 04-B, 05-B, 06-B, 07-B, 08-B, 11-A, 13-B, 14-A, 15-B, 16-B, 17-B, 18-B, 19-B, 20-B.
Zombies: Place the zombies as illustrated: no zombies on the Start tile (Mall), 6 zombies on the Exit tile (Police Station), and 2 zombies on the Street Area of all other tiles.
Start: Severity starts on the Street Area of the Mall tile (11-A).