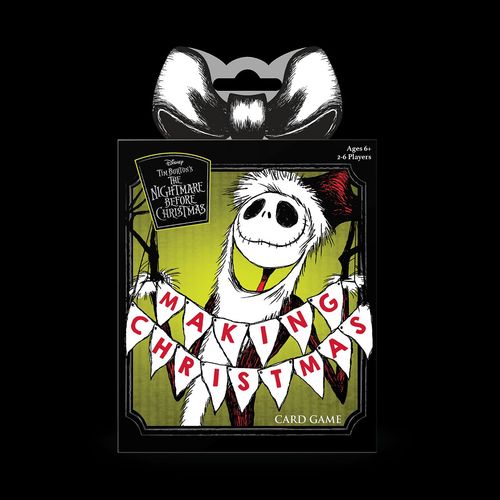
The Nightmare Before Christmas: Making Christmas
The Nightmare Before Christmas: Making Christmas Rulebook
Table of Contents
Table of Contents
Contents
4 Workbench Tiles, 40 Toy Part Cards, 20 Goal Cards, Instructions.
Set Up
-
Puzzle together the Workbench tiles, as shown.
-
Shuffle the Toy Part cards and flip nine face up onto the gray spaces of the Workbench.
Note: Make sure all the Toy Parts are right-side-up. The spider web should be in the upper-right corner of each card, like it is on the Workbench.
Place the remaining Toy Parts nearby in a face-down deck, leaving room for a discard pile.
For a shorter game, remove three Goals at random and return them to the box!
-
Shuffle the Goal cards and flip three face up onto the green Goal slots on the left side of the Workbench. Place the remaining Goals nearby in a face-down deck.
-
Each player draws two Toy Parts from the deck. You may look at your cards but keep them secret from the other players.
The first player to make a scary face takes the first turn!
Example set up: the Goal deck, Toy Part deck and discard pile sit at the top; the Goal cards are in the green slots on the left of the Workbench.
Object
Assemble the Toys on the Workbench to complete Goals. Be the player with the most completed Goals at the end of the game to win!
On Your Turn
-
Swap Two Toy Parts. Swap the position of a Toy Part on the Workbench with another one on the Workbench or a Toy Part from your hand. Or instead, discard a Toy Part from the Workbench and replace it with the top Toy Part from the deck.
-
Complete Goals. Discard an assembled Toy from the Workbench to complete a face-up Goal. (See Toys below.) Place the completed Goal in front of you. You may complete multiple Goals on your turn, but each assembled Toy can be used to complete only one Goal.
If you complete a Goal with this symbol (a pair of circling arrows), you may immediately swap two Toy Parts. You cannot swap with an empty space on the Workbench. If your swap assembles another Toy, you may complete another Goal.
If you cannot complete a Goal, you may discard any Toy Parts you want from your hand and draw that many Toy Parts from the deck.
-
Refill the Workbench. Flip Toy Parts and Goals from the decks to refill any empty spaces or Goal slots on the Workbench. Refill Toy Parts from left to right and top to bottom, and make sure they are right-side-up. If the Toy Parts deck runs out, shuffle the discard pile to form a new deck.
Now it's the next player's turn.
Note: If each player takes a turn without completing any Goals, discard all the Toy Parts on the Workbench and refill it with nine new Toy Parts from the deck. Make sure the Toy Parts are right-side-up.
End of the Game
When the last Goal is completed, the game is over! Each player counts the number of Goals in front of them and the player with the most Goals wins! If there's a tie, play again!
Toys
The Toys reference is a diagram of two-card Toys. Each Toy is labelled as printed:
- Jack-in-the-Box
- Vampire Teddy
- Zombie Duck
- Nesting Doll
- Any Horizontal Toy: Vampire Teddy or Zombie Duck.
- Any Vertical Toy: Jack-in-the-Box or Nesting Doll.
Note on transcription: the Toys diagram is pictorial. The labels above are transcribed from the printed captions; the card artwork itself is not described in text.