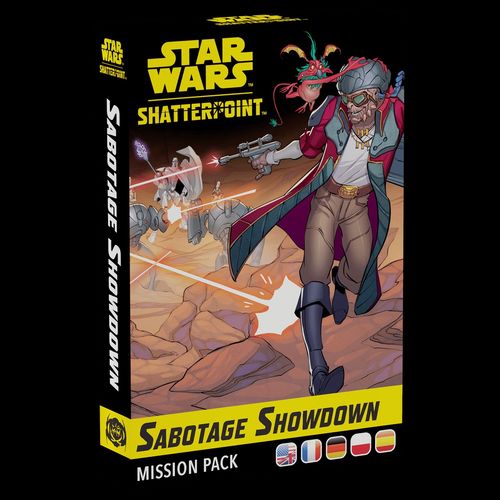
Star Wars: Shatterpoint – Sabotage Showdown Mission Pack
Star Wars: Shatterpoint – Sabotage Showdown Mission Pack Rulebook
Table of Contents
Table of Contents
Mission Card: Sabotage Showdown
The Sabotage Showdown mission card has rules text on its left panel and a Mission Map on its right panel. Its rules are as follows.
After a player chooses an allied Unit to activate with a Shatterpoint Order Card, the chosen Unit gains the ⊕ ability printed on the active Struggle Card until the end of the Turn.
During the second and third Struggles, at the start of each of their Turns, players roll one Defense Die and consult the Mission Map to mark the corresponding Active Objective token with a Priority Objective token. A player that controls the Active objective marked with a Priority Objective token moves the Struggle token one additional space toward their Momentum tokens.
After moving the Struggle token at the end of each Turn, remove all Priority Objective tokens from Active Objectives.
Sabotage Showdown Mission Map
The Mission Map is a graphic. It shows a set of track lines on a grid, with an Objective position (a circle) at the end or along each track. Several tracks carry a printed number. The 5s are at top left, upper right (on the vertical track), middle centre, bottom left, bottom centre, and bottom right. The 4s are at top right, left middle, and right middle. The 2s are at bottom left and bottom right. The printed text does not state a key that links a Defense Die result to a particular position on the map, so this file does not give one. The map numbers and positions are reproduced here as they appear on the card.
Positions (circles) as printed: upper left, upper centre (no track), upper right, middle left, middle right (two positions along the middle track), lower left, and lower right. The lower-left position is joined to a 5 track that runs down from it, and the lower-right position is joined to a 2 and a 5 track that run from it.
Struggle Cards
Each Struggle card has a title, one or two Mission Maps showing the Active Objective positions, and a ⊕ ability at the bottom. The gold icons on each map are the Active objectives on that map. Their three symbols are a ring, a diamond, and a cracked (split) shape. The grey circles are the other positions on the map.
Find the Escape Tunnel
Map: one map. Active objectives are the ring (upper right), the diamond (left), and the cracked shape (lower right). Four other positions are shown in grey.
⊕ Stick to the Plan: At the start of this Unit's activation, refresh Force.
Didn't Expect a Welcome Party
Map: two maps are printed, one above the other. Each map shows three gold Active objectives (ring, diamond, and cracked shape) and four grey positions. In the upper map the ring is top left, the diamond is centre, and the cracked shape is lower right. In the lower map the ring is top centre, the diamond is centre, and the cracked shape is lower left.
⊕ Stick to the Plan: At the start of this Unit's activation, refresh Force.
Get to the Hangar Bay
Map: one map. Three gold Active objectives sit on one horizontal row: the ring (left), the diamond (centre), and the cracked shape (right). Four other positions are shown in grey, two above the row and two below it.
⊕ Press Forward: At the start of this Unit's activation, each character in this Unit may Advance.
Signal the Transport
Map: one map. Active objectives are the ring (upper left), the diamond (right), and the cracked shape (lower left). Four other positions are shown in grey.
⊕ Regroup: At the start of this Unit's activation, it may remove 2 damage or one condition from itself.
They're Jamming Our Comms
Map: two maps are printed, one above the other. Each map shows three gold Active objectives (ring, diamond, and cracked shape) and four grey positions. In the upper map the ring is top left, the diamond is right, and the cracked shape is lower centre. In the lower map the ring is top centre, the diamond is left, and the cracked shape is lower left.
⊕ Regroup: At the start of this Unit's activation, it may remove 2 damage or one condition from itself.
We Need More Time
Map: two maps are printed, one above the other. Each map shows three gold Active objectives (ring, diamond, and cracked shape) and four grey positions. In the upper map the ring is top right, the diamond is centre, and the cracked shape is lower centre. In the lower map the ring is top left, the diamond is centre, and the cracked shape is lower left.
⊕ Press Forward: At the start of this Unit's activation, each character in this Unit may Advance.
Cards Not Included
This pack has ten mission cards. Seven are transcribed above: the Sabotage Showdown mission card and six Struggle cards. The following three are not in this file, and their text has not been transcribed:
- Shut Down the Alarms
- Set the Charges
- Secure the Exits
The three names were read from the publisher's group image of the pack. The text of those cards is not reproduced here.
Notes on Transcription
- The ⊕ symbol is the Struggle ability icon printed on each Struggle card. The Sabotage Showdown mission text refers to it by that name.
- The icon names used for the force, damage, and movement symbols (Force, damage, Advance) are identified from the card art and the base game's icon list. The printed glyphs are drawn, not text, so these names are the transcriber's reading of them.
- Map positions are described from the card art. Positions are listed as printed, and no rule is inferred from them.