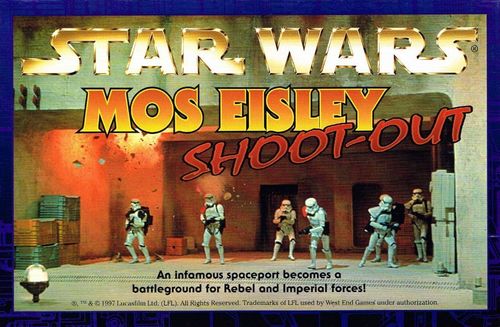
Star Wars Mos Eisley Shoot-Out
Star Wars Mos Eisley Shoot-Out Rulebook
Table of Contents
Table of Contents
Setting Up
Cut out the character pieces, folding them in half so they stand up. Also cut out the "Wound" and prop markers. Each character has several scores showing how good he is at certain tasks. The number after it represents the number of six-sided dice you roll when the character uses that skill.
Choose who plays the Rebels and who plays the Imperials. Pick one of the scenarios on the back to play. Each scenario tells you which counters the Imperial player uses. The other player always uses all four Rebel counters. The directions in each scenario tell where the pieces begin.
Scenarios
The scenario setups are missing from this transcription. The scan of the back cover contains the rules text, the Damage Chart and the Range Chart only. The printed scenarios are on the back of the counter sheet, which was not captured in any source available for this transcription. The five scenarios (Imperial counters used and starting positions for each) must be added from the original counter sheet or another complete copy before this section is usable.
Turn Structure
Each turn has three steps:
- Roll Initiative.
- First Side Takes Actions.
- Other Side Takes Actions.
Initiative
Who goes first? Find the character on each side with the highest Perception. Each player rolls his Perception. Whoever rolls higher goes first for that turn.
Actions
Every piece on a player's side gets two actions. Each turn, a player goes through each of the characters he controls, declaring and then carrying out their actions one at a time. When all characters on one side have gone, that player's turn is done. When both players have taken their turns, begin a new turn by rolling initiative again. Each piece can make two actions in a turn:
- Move: Move up to the number of spaces listed under a character's Speed. One piece may not occupy a space with another, and it may not move through barriers or other pieces. You may choose this option twice in your turn.
- Dodge: Evade attacks from your enemy. Roll your Dodge score; your total becomes the new difficulty an opponent needs to beat to hit you. This new difficulty applies until the next time that character makes an action.
- Shoot: Fire your blaster at one target. Count the squares between two pieces (making sure no buildings are in the way) and see if the target is behind cover (a cargo crate, landspeeder or a corner). Roll your Blaster dice and see if you meet or beat the number listed on the "Range Chart" (or the target's Dodge score if it's dodging). If you hit, roll your Damage; the other player rolls the target's Strength. Subtract the Strength total from the Damage, and check the "Damage Chart." The target suffers the penalties listed. You may choose this action twice in your turn to shoot two different targets.
Damage Chart
Damage Roll, minus the character's Strength:
| Minus Strength | Injury and Game Penalty |
|---|---|
| 0–3 | Stunned: Character knocked down, loses next turn. |
| 4–8 | Wounded: Character knocked down, loses next turn, -1D to all rolls except Damage (cumulative). Place a "Wounded" marker with the proper die penalty next to the character. |
| 9+ | Incapacitated: Character out of the game — remove the piece from the map. |
Range Chart
| Range | Difficulty # Needed to Hit | Difficulty if Target Is Behind Cover |
|---|---|---|
| 1–2 squares | 5 | 10 |
| 3–7 squares | 10 | 15 |
| 8+ squares | 15 | 20 |