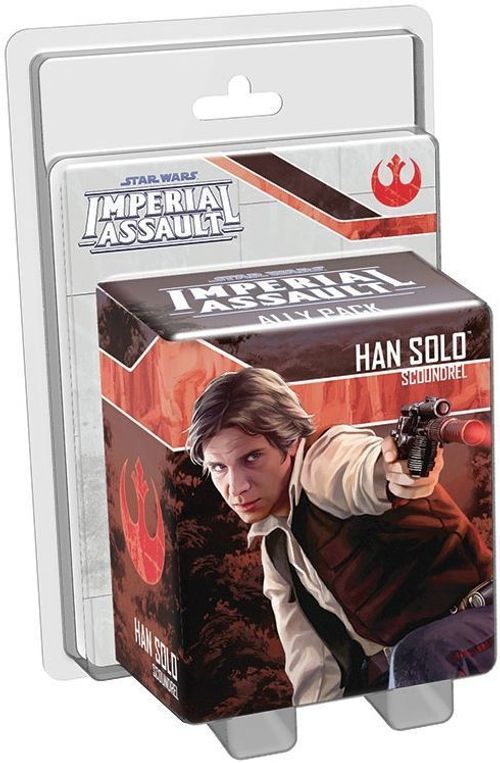
Star Wars: Imperial Assault – Han Solo Ally Pack
Star Wars: Imperial Assault – Han Solo Ally Pack Rulebook
Table of Contents
Table of Contents
Component Breakdown
- 1 Plastic Figure (Han Solo)
- 1 Deployment Card (Han Solo)
- 6 Command Cards (Slippery Target x2, Reposition, Inspiring Speech, Disable, I Make My Own Luck)
- 1 Side Mission Card (Imperial Entanglements)
- 2 Skirmish Mission Cards (Corellian Underground)
- 1 Reward Card (Quickdraw Holster)
Incorporating the Expansion
- Add the Han Solo Deployment card to the supply of Deployment cards.
- Shuffle the Side Mission card together with the other gray Side Mission cards before building the Side Mission deck at the start of a campaign.
- Shuffle the Skirmish Mission cards into the Skirmish Mission deck. These cards use the "Corellian Underground" map (see below).
- Add the Command cards to the pool of cards that a player can use to build his Command deck.
- Add the Reward card to the supply of Reward cards. This card can be received by a hero after playing "Imperial Entanglements."
Han Solo's figure and cards are components rather than rules; this pack's rules are the Skirmish Missions, the Side Mission and the Reward card described below.
Skirmish Missions
Both Skirmish Missions use the Corellian Underground skirmish map. The sheet prints only each mission's flavour text and the map. Its setup and victory conditions are not printed on the sheet and are not included here; they are on the Skirmish Mission cards, which are components rather than sheet text.
Corellian Underground – Skirmish Map
The map is printed on the sheet with the following labelled points and locations:
- Thug: a point marked A (red) on the map, shown with a Thug token.
- Cantina: the location is marked on the map with the cantina's map tile number 21B.
- Sabacc Table: a point marked B (blue) on the map, shown with the Sabacc Table token.
Map tiles used: 01A, 07A, 10A, 14A, 19B, 21B, 24B, 27B, 29B, 31B, 32B(2), 35B, 36B(2), 38B(3).
A: Local Trouble
Enemy forces are attempting to curry favor with the Corellian crime syndicates. You have been tasked with rooting out the hostile forces in the area and staking a claim on that piece of territory. The location is of substantial tactical significance since the cantina is an information hub for all criminal activities on the planet. If you can establish this location as a base of operations, your efforts to secure a stronger presence on Corellia could be made substantially easier. However, the locals might not want to give up their favorite watering hole…
B: Sabacc Standoff
The game of Sabacc is one of careful bluffing and guts, and the same can be said of running a respectable gambling parlor. Competitors have opened another Sabacc den in neutral territory, a popular place where a tremendous number of credits are bid, lost, and laundered every day. This is a high-stakes mission; you cannot afford any mistakes as the enemy will be working against you the entire time. Control the Sabacc table and you'll get your due rewards.
Side Mission: Imperial Entanglements
Event Summary
- Hero retrieves access disk: Unauthorized Access
- Airlock released, schematic uploaded, or all heroes wounded: End of Mission
Deployment and Setup
- Initial Groups: Imperial Officer, Probe Droid, Stormtrooper, Stormtrooper.
- Reserved Groups: Trandoshan Hunter.
- Opens Groups: 3. No Creatures.
- Special Setup: Increase threat by three times the threat level and resolve an optional deployment. Set aside 1 blue neutral mission token and 1 red neutral mission token. Heroes control Han Solo (Scoundrel) as an ally at no threat cost.
The map layout for this mission is printed on the sheet as an image and is not reproduced here.
Map tiles used: 21A, 22A, 23A, 24A, 28A, 30A, 31A, 32A(2), 34A, 36A(2).
Mission Briefing
Imperial fighters and boarding craft came out of nowhere. Before you knew it, stormtroopers were flooding into the Falcon. Now you find yourselves split between defending the ship and fighting for the codes to get free.
- The blue neutral mission token represents the access disk. A healthy hero can interact with the blue terminal (3 [search icon] or [eye icon]) to retrieve the access disk. If the access disk is dropped, a healthy hero can retrieve it.
- The red neutral mission token represents the schematic. An Imperial figure can interact with the red terminal to retrieve the schematic. If the schematic is dropped, an Imperial figure can retrieve it.
- A hero carrying the access disk can interact with the red terminal to release the airlock.
- An Imperial figure carrying the schematic can interact with the blue terminal to upload the schematic.
- The mission ends when the airlock is released ([airlock icon]), when the schematic is uploaded, or when all heroes are wounded.
- Deploy the heroes to the blue points, divided between the two as evenly as possible.
Unauthorized Access
The first time a hero retrieves the access disk:
Sparks burst from the console as you slice into it and load the access codes onto a disk. Finished, you blast the console to slag before moving to return to the Falcon. Red lights flash and alarms ring as a door opens behind you. More troops rush into the corridors to prevent your escape.
You begin to engage your would-be captors as Han's sarcastic voice crackles in on your comlink:
"You know, I was worried this would all be a little boring! Maybe next time you could send a distress beacon to the nearest Star Destroyer! In fact, why not invite Jabba and his goons to the party while we're at it?"
- Deploy the reserved Trandoshan Hunter group to the red point.
- Increase threat by the threat level.
End of Mission
When the airlock is released:
Han sprints back to the controls as you punch in the codes to release the airlock.
"Okay, hit it!" The Falcon breaks away from the boarding shuttle. Fighters swoop in, but none can score a decent hit before you zoom into hyperspace.
- Rebel players choose one hero to receive the "Quickdraw Holster" Reward card.
When the schematic is uploaded or when all heroes are wounded:
"I guess we're doing this the hard way," Han says. Sliding back into the cockpit, he hits the accelerator. A metallic squeal ends in a deafening crash as the Millennium Falcon wrenches away from the Imperial ship. Trailing pieces of the aft section, the Falcon blasts into hyperspace.
- The Imperial player receives 2 influence.
Additional Rewards
- Each player receives 1 XP. Heroes receive 100 credits per hero. The Imperial player receives 1 influence.