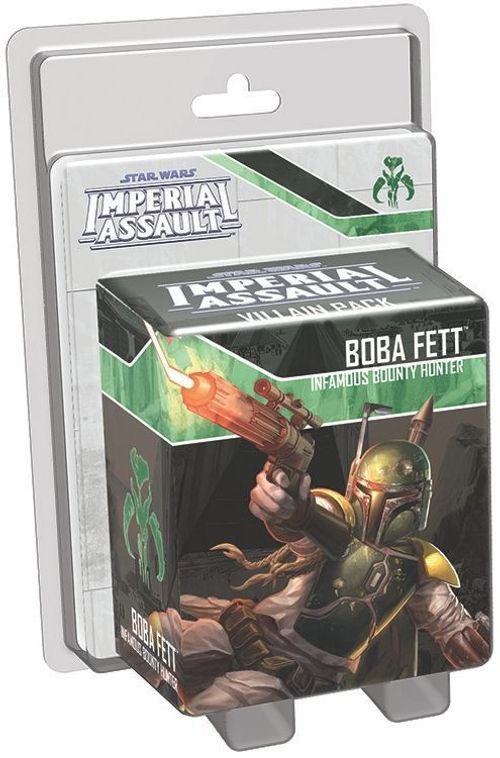
Star Wars: Imperial Assault – Boba Fett Villain Pack
Star Wars: Imperial Assault – Boba Fett Villain Pack Rulebook
Table of Contents
Table of Contents
Component Breakdown
- 1 Plastic Figure (Boba Fett)
- 2 Deployment Cards (Boba Fett, Explosive Armaments)
- 3 Command Cards (Capture the Weary, Jump Jets, Mandalorian Tactics)
- 3 Agenda Cards (Soldiers for Hire)
- 2 Skirmish Mission Cards (Imperial Space Station)
- 1 Condition Card (Weakened)
Incorporating the Components
- Add the Deployment cards to their supply.
- The Imperial player can choose the "Soldiers for Hire" Agenda set when building his Agenda deck at the start of a campaign.
- If you own the Twin Shadows expansion, shuffle the Skirmish Mission cards into the Skirmish Mission deck. These cards use the "Imperial Space Station" skirmish map (see below).
- Add the Command cards to the pool of cards that a player can use to build his Command deck.
- Add the Condition card to the pool of Condition cards.
Weakened
Weakened is a new condition whose effects are detailed on its Condition card. Since this expansion does not include condition tokens for Weakened, a coin or other suitable substitute may be used instead.
Skirmish Attachments
Some skirmish upgrade Deployment cards list the word "Attachment" above their abilities. These cards can be attached to other Deployment cards as follows:
- When deploying units during skirmish setup, if a player has one or more "Attachment" cards included in his army, he places each of these cards on one of his non-upgrade Deployment cards.
- Each Deployment card can have only one "Attachment."
- Abilities on "Attachment" cards apply to all figures in the corresponding group.
- Many attachments require the group to have a specific trait, such as "Trooper." Attachments with these restrictions cannot be played on a group that does not have the trait.
When a group with an "Attachment" card is defeated, the opposing player scores VPs equal to the deployment cost of the "Attachment" card in addition to the VPs he scores from the defeated group's Deployment card.
Imperial Space Station Skirmish Map
The Skirmish Mission cards in this pack use the Imperial Space Station skirmish map, which is printed on the sheet. The map itself is not transcribed here.
Predator and Prey
Side mission. The sheet's own title for this mission is "Predator and Prey," and its footer labels it a Side Mission.
Deployment and Setup
- Initial Groups: Imperial Officer, Nexu, Trandoshan Hunter.
- Reserved Groups: Boba Fett (Infamous Bounty Hunter).
- Open Groups: 3.
- Special Setup: Increase threat by twice the threat level and resolve an optional deployment.
Event Summary
- Round 2: Predator.
- Round 6: End of Mission.
- Each time the Imperial player advances the cargo: Extra Effort.
- Cargo reaches extraction point: End of Mission.
Mission Briefing
You thought you and your cargo were home free, when suddenly, Slave I appeared in the sky behind you, shooting down your ship. Now you're crash-landed in the middle of the forest, surrounded by Imperials and mercenaries. They must have had this set up all along.
An initial squad rushes in, loading your cargo onto hoversleds for transport. You fend them off, but a fresh wave is just behind them, and all around you Imperial power stations continue to surge.
- The Rebel mission token represents the cargo.
- At the start of each Status Phase, the Imperial player advances the cargo. When he does, he moves the cargo 1 space. Increase the number of spaces by 1 if there is an Imperial figure adjacent to the cargo. Increase the number of spaces by 1 if there are no healthy heroes within 3 spaces of the cargo.
- At the end of each round, increase threat by the number of terminals on the map. A Rebel figure can attack a terminal (Health: Threat level, Defense: 2 ▼).
- The mission ends at the end of Round 6 or when the cargo enters the Extraction Point.
Extra Effort
After each time the Imperial player advances the cargo:
The Imperial player chooses 1 of the following:
- Increase threat by 1.
- 2 threat: Move the cargo 1 space.
Predator
At the end of Round 2:
You hear the roar of engines and mechanical squeals and hisses as Boba Fett's massive Firespray lands near the site of your conflict. The mercenary strides out, weapons drawn, prepared to do whatever it takes to secure his bounty.
- Deploy the reserved Boba Fett to the red point.
- Increase threat by the threat level.
End of Mission
At the end of Round 6:
Diving through the mass of Imperials and bounty hunters, you steal the cargo back from the would-be robbers. You lay down covering fire as you escape deep into the woods, hoping a new extraction shuttle can reach you soon.
- Heroes receive 100 credits per hero.
When the cargo enters the Extraction Point:
Held back by waves of suppressive fire, you are unable to prevent the bounty hunters from loading your cargo onto the extraction ship. The Imperial shuttle takes off, laden with valuable Rebel supplies, with Slave I following close behind.
- The Imperial player receives Boba Fett (Infamous Bounty Hunter) as a villain.
Additional Rewards
- Each player receives 1 XP. Heroes receive 100 credits per hero. The Imperial player receives 1 influence.
Notes on Printed Reference Numbers
These are the reference numbers printed in the sheet's footers, transcribed as printed. The footer icons are not reproduced.
- Skirmish mission footer (page 1): 02A, 04A, 06A (first icon); 19A, 20A, 24A, 25A, 29A, 34A, 35A, 36A (second icon).
- Side mission footer (page 2), map tiles: 01A, 02A, 05A, 06A, 09A, 12A, 13A, 14A (2 copies), 17A, 18A (4 copies). The Extraction Point is marked 18A on the printed map.