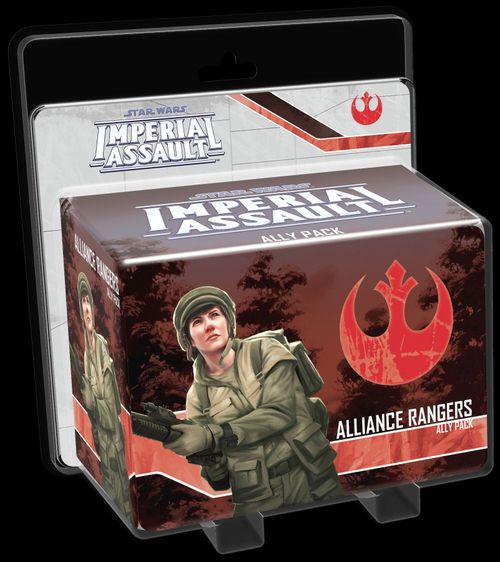
Star Wars: Imperial Assault – Alliance Rangers Ally Pack
Star Wars: Imperial Assault – Alliance Rangers Ally Pack Rulebook
Table of Contents
Table of Contents
Components
- 3 Plastic Figures (Alliance Rangers)
- 3 Deployment Cards (2 Alliance Ranger, Survivalist)
- 1 Side Mission Card (Strike Force Xesh)
- 3 Command Cards (Heightened Reflexes, Call the Vanguard, Mitigate)
- 2 Skirmish Mission Cards (Nal Hutta Swamps)
- 1 Condition Card (Hidden)
- 4 ID Tokens with 12 ID Stickers
Using This Pack
- Add the Deployment, Command, and Condition cards to their supplies.
- If you own the Jabba's Realm expansion, add the Side Mission card to the pool of green Side Mission cards. The heroes can choose this card when building the Side Mission deck at the start of a campaign.
- If you own the Jabba's Realm expansion, shuffle the Skirmish Mission cards into the Skirmish Mission deck. These cards use the "Nal Hutta Swamps" map (see below).
Neutral Deployment Cards
Deployment cards with a Neutral Icon and card back do not belong to an affiliation. When creating an army for a skirmish, a player may choose to include Neutral Deployment cards as if they belonged to his affiliation. Neutral Deployment cards cannot be used in a campaign.
Skirmish Attachments
Some skirmish upgrade Deployment cards list the word "Attachment" above their abilities. These cards can be attached to other Deployment cards as follows:
- When deploying units during skirmish setup, if a player has one or more "Attachment" cards included in his army, he places each of these cards on one of his non-upgrade Deployment cards.
- Each Deployment card can have only one "Attachment."
- Abilities on "Attachment" cards apply to all figures in the corresponding group.
- Many attachments require the group to have a specific trait, such as "TROOPER." Attachments with these restrictions cannot be played on a group that does not have the trait.
When a group with an "Attachment" card is defeated, the opposing player scores VPs equal to the deployment cost of the "Attachment" card in addition to the VPs he scores from the defeated group's Deployment card.
Figure Cost
Each figure in Imperial Assault has a figure cost that may be referenced by abilities and game effects. A figure cost is one of two values:
- If a deployment group has a starting group size of 1, that figure's figure cost is equal to the group's deployment cost.
- If a deployment group has a starting group size of 2 or more, each figure in that group has a figure cost equal to the group's reinforcement cost.
Skirmish Mission: Nal Hutta Swamps
Skirmish map: Nal Hutta Swamps. This map requires the Jabba's Realm expansion.
The sheet prints only the map for this skirmish mission; the text of the two Nal Hutta Swamps skirmish mission cards is not on this sheet.
Card reference printed at the foot of the sheet beneath the Nal Hutta Swamps map (the row icons are graphics; they are labelled here by appearance):
- Rebel icon row: 01A, 03A, 05A, 09A, 11A, 12A, 14A
- Stormtrooper (Imperial) icon row: 02A, 04A, 05A, 10A, 12A, 13A, 14A(2), 16A, 17A(3), 18A(3), 36B(2), 38B(2)
Side Mission: Strike Force Xesh
This map requires the Jabba's Realm expansion.
Deployment and Setup
- Initial Groups: E-Web Engineer, Imperial Officer, Jet Trooper.
- Reserved Groups: Probe Droid, Stormtrooper, Trandoshan Hunter.
- Open Groups: 3.
- Special Setup: Increase threat by twice the threat level and resolve an optional deployment. Heroes cannot bring Alliance Rangers as allies.
Event Summary
- Round 1: Cover Fire
- Round 2: On Their Heels
- Round 6: End of Mission
- First door opens: Final Surge
- Both terminals destroyed or all heroes wounded: End of Mission
Mission Briefing
The rangers make steady and silent progress towards the Imperial target through the swampy Ithor landscape. But for all their skill, you can't shake the feeling that you are being followed.
A ranger interrupts your thoughts, "Stay focused. We've scouted the area, and there are hidden tunnels through the brush you can use to make an approach. You get in; we'll provide the cover fire."
- Rebel mission tokens represent tunnels. A Rebel figure can spend 1 movement point to move from a tunnel to another tunnel of the same color.
- Doors are locked to Imperial figures.
- The mission will progress when a door is opened (door icon). The mission ends at the end of Round 6 or when all heroes are wounded.
Cover Fire
At the end of Round 1:
- Heroes deploy the Alliance Rangers to the entrance and control them as allies.
- Each Alliance Ranger becomes Hidden.
- Deploy the reserved Probe Droid and Stormtrooper groups.
On Their Heels
At the end of Round 2:
- Deploy the reserved Trandoshan Hunter group to the blue point.
- Increase threat by the threat level.
Final Surge
The first time a door opens:
Pushing through vines, you take a breath and breach the door. Two terminals appear to coordinate the relay's equipment.
Hostile forces interrupt your inspection with threats and weapons.
- The red deployment points are now active.
- Increase threat by the threat level and resolve an optional deployment.
- A Rebel figure can attack a terminal (Health: Twice the threat level, Defense: 1 ▼). Apply +1 ▼ to the defense results if 1 or more Imperial figures are on or adjacent to that terminal.
- The mission ends when both terminals are destroyed (door icon).
End of Mission
When both terminals are destroyed:
"Ace work!" a ranger congratulates you over the comlink. "Meet back at the rendezvous point. We'll make sure you're not followed this time."
- Heroes receive Alliance Rangers as allies.
At the end of Round 6 or when all heroes are wounded:
Overwhelmed by the Imperial forces protecting this relay station, you flee into the swamps for extraction. You lose a few rangers to blaster fire as they stay to cover your escape.
- The Imperial player receives 2 influence.
Additional Rewards
- Each player receives 1 XP. Heroes receive 100 credits per hero. The Imperial player receives 1 influence.
Card Reference
Card reference printed at the foot of the sheet beneath the Strike Force Xesh mission (the row icons are graphics; they are labelled here by appearance):
- Rebel icon row: 01A, 03A, 05A, 11A, 12A, 16A
- Stormtrooper (Imperial) icon row: 03A, 07A, 14A, 16A, 17A, 18A(4), 21A, 23A, 34A, 35A, 36A, 39A(2)