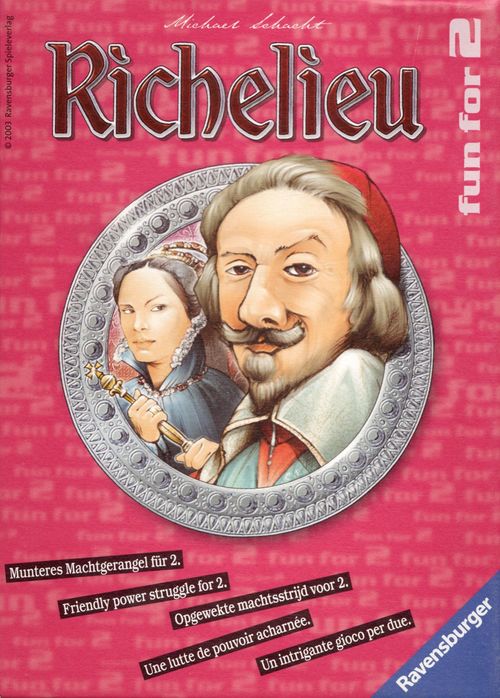
Richelieu
Richelieu Rulebook
Table of Contents
Table of Contents
Materials
- 48 playing cards (in 9 different colours)
- 6 square property markers (3 per player)
- 14 round discs (9 "shields", 3 "symbols", 2 "property markers back")
- Pencil and paper for keeping score
The playing cards
The playing cards represent nine different regions of France. Each region is shown by a different colour and has a different shield. Most of the cards have at least a second shield or a symbol representing the individual region's military (sword), clerical (cross) or political (tower) power. The number on the cards states how many shields there are in this colour. Each of the three symbols occurs nine times.
The Aim of the Game
The two opponents try throughout the game to acquire most of the shields or symbols, as they score points for each one and these points help them to victory.
The winner is the player with the most power points at the end of the game.
Preparation
Shuffle the 48 playing cards well, and then lay them face upwards, one after the other, in four rows of 12 cards, between the two players.
Shuffle the 14 discs (round), then place 8 discs face down on certain cards (as illustrated above). The remaining 6 discs are not needed in this round; put them back in the box without looking at them.
The 6 property markers (square) are divided between the players. Each player gets 3 property markers. One player assumes the role of Richelieu and takes the 3 cardinal's hats, the other is the queen and takes the 3 crowns.
Playing the Game
The younger player goes first, and the game then continues with the players in turn. The player whose turn it is must take at least one card and may take a maximum of two from the set in the middle of the table, and places it face up on the table. Please note:
- You may only take the cards on the left and right ends of the four rows (the cards may only be taken from the outside).
- If you take two cards they must be in the same colour, and there may not be more than two shields on them (a maximum of two of the same shields with each move). At this point, you do not need to pay any attention to the three symbols (sword, cross and tower).
(A detailed example on page XX shows the various moves than can be played in a move.)
Note: The first player may only take one card when moving for the very first time, regardless of the number of shields on the card.
Order the cards by colour and place them on top of each other with the shields and symbols clearly recognisable.
Property Markers
Once a player has taken one or two cards, he may place one of his property markers on any one of the playing cards in the set on the table (a maximum of 1 property marker per move). This may also be a card that has a disc on it, but it may not be one that already has a property marker on it, either this player's or the opponent's.
If a player has no property markers left, he may move a marker from one card to another one if he wants to.
By placing a property marker on a card, the player makes it more difficult for his opponent to take the card as this would now "cost" him a marker of his own. So if a player takes a card that has one of the opponent's property markers on it, this player must then hand over one of his markers, either by taking it from his stock or from a card and putting it back in the box (taking a card with one of the opponent's property markers "costs" you one of your own). The marker on the card taken by the player is returned to the opponent for his further use.
Example: Richelieu takes a card with one of the queen's markers on it, so he has to hand over one of his own. Because his markers are currently all on the cards, he must take a marker from a card. The queen gets her marker back.
Note: If a player has "used up" all three of his property markers – i.e. put them back in the box – he may not take any more cards that have one of the opponent's markers on them. In fact, it could be that he is unable to take any more cards at all. In this case, this player stops playing until he is able to take at least one card.
The player is free to choose whether to take a card with no markers or with one of the opponent's markers on it. If he takes a card with one of his own markers, he takes the marker back to use later.
Discs
If a player takes a card with a disc on it, he may look at it and then put it face down in front of him.
- The discs with shields or symbols are turned over at the end of the game. They then count as 1 shield or symbol (see Score).
- The two "Property marker back" discs may be used during the game. A player who gives up one of these discs (by putting it back in the box) is given back one of the property markers he has already "used" (takes it out of the box) for further use. These discs are not counted when doing the evaluation.
Score
The players continue playing until all of the cards have been taken from the middle of the table, and then the points are added up:
1. Shields
Points are scored as shown on the table on the right, starting with Bourgogne, in turn:
- Bourgogne
- Bretagne
- Champagne
- Normandie
- Languedoc
- Provence
- Anjou
- Bourbon
- Auvergne
With a majority: 1 power point for each of the player's own shields for the particular region.
The players count how many shields (not cards!) they have for each region. If one of the players has the matching disc, this scores him 1 extra point. The player who has more shields than his opponent credits the number of his shields as power points. The other player gets nothing (see example 1). If both players have the same number of shields from a particular region, neither scores anything (see example 2).
Note: For each region for which a player has no cards at all (a matching disc won't help!), he deducts 5 power points from his total number (see example 3).
Example 1: Richelieu has 5 shields from Bourgogne and the matching disc. The queen has the other 5 shields from Bourgogne. Richelieu is credited 6 points; the queen gets nothing.
Example 2: Both players have 4 shields from Normandie; neither scores anything.
Example 3: The queen has all 7 shields from the Provence, Richelieu only has the matching disc. The queen is credited 7 points, Richelieu loses 5.
2. Symbols
With a majority: 1 power point for each of the player's own symbols of the particular symbol.
Then the three symbols are all counted separately – sword, cross and tower. A matching disc counts as one symbol. The player who has more of one symbol than the other player is credited his number of these symbols as power points. The other player gets nothing (see example 4). If both players have the same number of symbols of one kind, neither scores anything (see example 4).
Note: In the – admittedly extremely unusual – event of a player having no cards at all of a particular symbol, he loses 5 power points.
Example 4: Richelieu has 5 crosses, and the queen has the remaining 4. The matching disc was not in the game. Richelieu is credited 5 points; the queen gets none. (If the queen had had the disc, neither player would have scored anything.)
End of the Game
The player with the most power points after the evaluation is the winner.
In the event of a draw, the player with the lower number of cards is the winner.
Variant
The game is more demanding when working out the score if three of the four rows of cards are completely removed.
Example of Play
It is Richelieu's move. He can take:
- One of the cards with two shields (1).
- Or the two checked cards (2) + (3) at the top right. Instead of the card (3) he could also take the checked card (4) in the 3rd row on the left. If he were to take this card he would have to hand over one of his property markers; the queen would get her property marker back.
- Or the two striped cards (5) + (6) in the 2nd row on the left (and his property marker on the card [5]). He would not be allowed to take the striped card (7) in this move because no more than 2 cards are allowed in a move.
- Or the spotted card (8) (and the disc) at the bottom on the right. He would not be allowed to take the spotted card (1) in the 2nd row on the right outside as well as this would then mean he had more than 2 shields.