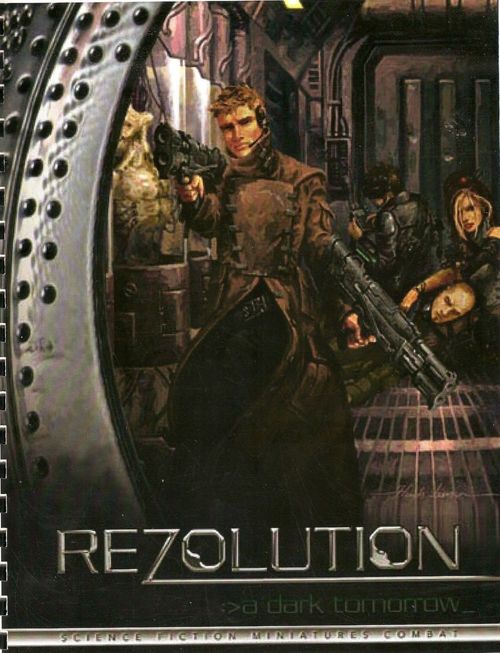
Rezolution: A Dark Tomorrow
Rezolution: A Dark Tomorrow Rulebook
Table of Contents
Table of Contents
Playing the Game
To play Rezolution you will need a number of Rezolution models and data cards, a flat playing surface typically 4'X4', some pieces of terrain; the CD-ROM with this starter set contains enough to get you started, a number of d6 and a friend with his own force of Rezolution figures.
Rolling the Dice
The most common types of dice rolls in Rezolution are Opposed rolls, Target Number rolls and Damage rolls. An opposed roll is where both you and your opponent roll 2d6 and add the total score to an Attribute. For example if you're trying to shoot a model roll 2d6 and add your models RCA for your total score, while your opponent trying to dodge will roll 2d6 and add his SAG, the player with the higher score wins. A Target number is when a player rolls 2d6 and adds the appropriate attribute to try and equal or beat a designated 'target number'. If a player rolls double 6 this is referred to as a critical success and certain additional effects may apply, likewise if they roll double 1 this is termed as a critical failure.
The Data Card
A models data card contains all the pertinent information specific to that model to be able to use it in your Rezolution games.
A models attributes are displayed on the front of the card in an abbreviated form.
MVE – This is how far the model can move on the game table in inches.
RCA – This is how good your model is at Ranged Combat Attacks, to attempt to hit someone with a ranged weapon roll 2d6
CCA – When models engage each other in Close Combat they both roll opposed test and add CCA to determine the winner
SAG – A model's Size and Agility attribute is added to a defending player's dice score when making an opposed roll after being attacked in ranged combat.
BDY – The Body Attribute represents how strong and tough a model is. BDY is used in a number of different ways during play:
- A model's BDY is used as the damage target number when an opponent has made a successful attack. The attacker has to roll equal or above the target's BDY to wound it.
- In close combat, an additional d6 damage die is given per point of BDY over your opponent's BDY on a successful hit.
NRV – The Nerve attribute is used for all NRV and morale based tests
HACK – The Hack attribute enables certain models to influence electronic or robotic elements in the game as well as download data and attack other 'hackers' on the 'Grid'.
CRFT – this attribute is used when a player attempts to use a craft power in much the same way as a when a model uses their RCA or CCA attributes.
REP – A models REP is used to determine order of play during the Control Phase.
The Game Round
A game round consists of the Control Phase and a number of alternating turns until every independent model or team has been activated. At the beginning of the Control Phase players roll 2d6 and add the highest REP on your crew to the total. The players who wins can choose to go first or choose a model or team on his opponents crew to activate first. During a players turn they may activate one independent model or one team, the model may move and then take an action such as ranged or close combat, order can also be given at the beginning of a models turn but these are dealt with in detail in the Rezolution: A Dark Tomorrow core book. Once a player has finished activating his team or model, play passes to his opponent and so on until both players have activated all their models and then a new round will begin starting again with the Control Phase.
Control Phase Order
- Control roll.
- Special effect rolls (poison, fire, etc).
- Fatal damage rolls.
- Rally models.
- Compulsory movement.
- Hard Wired Model Activation.
Beginning the Game
Players typically set-up within 8" of opposing table edges, making a control roll (2d6 + REP) to determine who sets up first. Once both players have placed their models another control roll is made to determine who starts first, as per the normal game round rules.
Movement
A model may move up to their MVE in inches and carry out an action if it chooses, a model can run double its MVE in a turn, but may perform no other actions afterwards. A model may charge another model to engage it in close combat; this can be up to a total distance of its MVE+4". Models that are in a team must stay within 3" of another member of its team, or they have to make a morale test and the end of their teams movement action or become suppressed and may take no further action that turn. A model must finish its movement in the direction you want it facing as it can only attack from its front arc, this is a 180º on the front of the model. Independent models may be grouped in a team with other independents, but then must obey team rules for the entire game. When a team is activated all models in it must complete their movement, if any, before any other action can be carried out.
Combat
To attack a model using ranged combat it must first have line of sight to that model, i.e. you must be able to trace a direct line from your model to the target, and it must be the nearest enemy target available. The attacking player must then roll 2d6 and add its RCA attribute to make its total RCA score, while the defending player must roll 2d6 and add its SAG attribute. The attacker must roll equal or higher than the defender to successfully hit them. If the model is attacked from the rear arc it does not get to add it's SAG to its total score. A critical success while attacking means your damages total score is double, a critical failure means your gun is jammed and the model cannot use it for the rest of the game. A critical success for the defender means he has escaped unharmed, while a critical failure means he has automatically been hit and is considered prone if he survives. If a model throws a grenade and misses roll the deviation dice, the arrow is the direction it travels in and the numbers is the distance in inches from the original target where it lands. Models may attempt to throw grenades at a certain target point, this is a target number 10 test.
In close combat both players make opposed rolls and add their CCA the winner is the model with the highest score, a charging model receives an additional 1d6 to its damage dice on the turn it charges. If both players score the same combat is considered a draw that turn and there are no further effects. If a model is attacked by a model in its rear arc for that first turn it doesn't get to add its CCA to its score, if the attacker is successful it counts as a critical success, a model must start in the defending models rear arc to receive this bonus. A critical success means a model has automatically hit and the total number of damage successes is doubled, while a critical failure means your model has been hit and your opponent receives an additional 2d6 damage dice.
Hacking & Craft powers
A model must be 'Hard Wired' to the Grid in order to use their Hack attribute; that is they must be in base contact with a Hard Point Terminal (HPT) (supplied in the terrain kit) or some other designated point on the game table. Hackers that are hard wired can attack each other even though they may be on different sides of the table as long as they are connected to an HPT. Models may also attempt to use remote boards to hack things though this isn't as advantageous as being hard wired as they cannot add their Hack attribute to their roll, just the bonus from their board. Most non intelligent systems have a designation these are detailed in full with all the options available to hackers such as hacking robots and aggressive systems in the core rulebook, in the mean time consider all systems to be Neutral Target Number 10, a hacker has to access a system by equalling or beating its target number.
Models with craft powers can use them in the action phase of their turn by making an opposed test as for ranged or close combat only the attacker uses their CRFT attribute, not only does there score have to equal or beat their opponents but it must equal or beat the powers target number to actually work! Telepathic craft powers are an opposed test against an opponents NRV instead of their SAG.
Damage
Once you have hit your target the next thing you need to do it attempt to damage it. Each weapon has a number of Damage dice, this is the total number of dice you roll when attempting to damage a model, each dice is treated individually and not added together. To damage a model first subtract its armor from the amount of dice you roll, for example if a model has armor 2 and the weapon your model fired had a damage of 4d6 you would remove 2 dice leaving a 2d6 Damage dice. A models Armor rating can be found on top left hand corner of its data card. Once armor has been subtracted roll the damage dice each dice needs to equal or exceed the target models BDY attribute. For every 6 you score, you can immediately roll an additional damage dice, keep rolling 6s keep adding damage dice! For every dice that succeeds in damaging the target mark one block on its damage gauge (don't mark the original data card either use a photocopy or keep it in a PVC sleeve and use a dry erase marker). When enough blocks are marked on its Damage Gauge that numbers start appearing you will need to roll a d6 and consult the table below, this is known as Fatal Damage. When all the blocks have been filled the model is considered dead and removed from play.
Fatal Damage Chart
| d6 | Result | Effect |
|---|---|---|
| 1-2 | Dead | Model is removed from play |
| 3-4 | Stunned | The model is now stunned and prone. Roll again in the following control phase |
| 5-6 | Can't Keep a Good Man Down | Apply any modifiers listed on your Damage Gauge to MVE, RCA, CCA & NRV |
A prone model cannot move and counts as Target number 10 for models making ranged attacks at it further than 6" away, within that distance it counts as target number 5. An enemy in base contact with a prone model may expend its action and kill it, no roll is necessary and the model is automatically removed from play.
Nerve
Certain situations may cause someone to loose their cool such as coming under enemy fire or being wounded in close combat. A model must make a morale test at target number 10 and become suppressed if it has been wounded by a ranged attack, when a team loses 25% or more of its current members in a round, when a team has lost 50% or more of its starting members, when a crewmember with the Leadership skill dies within 6" of friendly crew model. When a model is suppressed it cannot move but may otherwise operate as normal. If the model fails a second morale test it immediately becomes panicked and flees 2d6" towards the nearest friendly table edge. A model must also take a morale test if it is wounded in close combat though if it fails it instantly becomes panicked and flees. When a models flees from close combat its opponent may have a free close combat attack at them with a target number of 8, if it survives it flees 2d6" as normal. Panicked models may attempt to rally during the control phase.