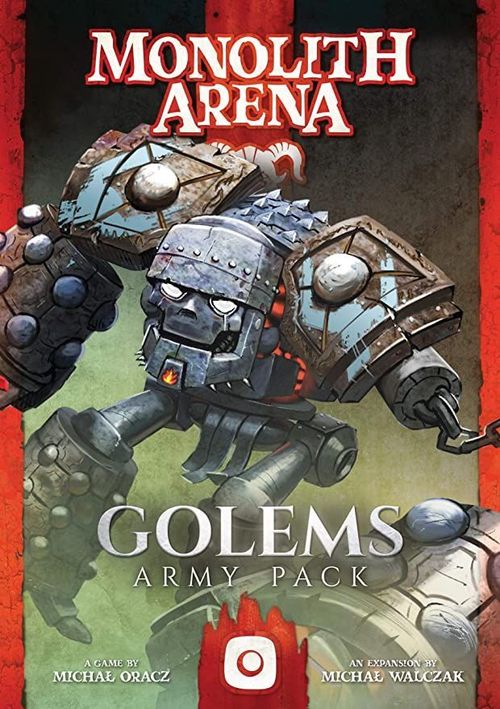
Monolith Arena: Golems
Monolith Arena: Golems Rulebook
Table of Contents
Table of Contents
Army Description
With the Golems you lead great power into battle, but also face many limitations. The opportunity to place powerful Champions on the board is only possible when they are controlled by Constructors. In order to use the Golems' strength, you must do it when their Constructor is near. A Golem is a tool of the Constructors, and damaged Golems may be brought back as long as their Constructor is still alive. The Golems are not only incredibly resilient and able to endure the damage that would be deadly for other Warriors, but they also use their mass and strength in the most fundamental way—to literally trample their [word missing in source].
New Tiles
There are two new types of tiles introduced in this faction: Constructors and Golems.
Constructors
Constructors are the Banner, the Champions or the Runes with a Construction symbol in a blue circle.
Constructors are required to place Golems on the board, and otherwise treated as normal tiles of their type.
Golems
Golems have a Construction symbol in a brown circle.
Golems are double-sided:
- UNDAMAGED: marked with the Undamaged feature icon.
- DAMAGED: marked with the Damaged feature icon.
Golems have unique rules of Placement and Damage (described in Gameplay).
Attacks, Features, and Initiatives in grey are lost when a Golem is Damaged. They work as usual on the Golem's Undamaged side.
Setup
During the setup, place aside the Banner tile, and instead of shuffling the rest of the tiles, separate all the Golem tiles (tiles with brown circles). These tiles create the face up Golem pool. Shuffle the rest of the tiles as usual and place them in a face down stack in front of you. Then place the Construction markers near the board.
Gameplay
When playing the Golems, instead of drawing up to 3 tiles at the beginning of your turn, you must draw 1 Construction marker and then the appropriate number of tiles from the stack, so that number of Construction markers and tiles equals 3. As usual, you must discard 1 of the 3 components you have just drawn. You may discard either a tile or the Construction marker. The remaining components may be saved for later use, discarded, or played—when playing a Construction marker it is spent to place a Golem tile. If this is the first or second round you may choose not to draw a Construction marker and draw 1 tile from the stack in the first round, and 2 tiles from the stack in the second round.
Example: In a previous turn, Kate kept 1 Construction marker in her hand. At the beginning of the current round she must draw 1 Construction tile and up to 3 tiles. In that case, she must draw 1 tile.
Unlucky Draw
Construction markers count as Board tiles for the sake of resolving the Unlucky Draw rule, except for the situation when after the end of the draw (before playing a tile or using the features, or unfolding the Monolith) there is no option to place any Golem.
Placing the Golems
To place a Golem:
- Choose a Constructor tile on the board (marked with a blue circle).
- Choose an available space adjacent to the Constructor tile.
- Spend 1 Construction marker.
- Take a Golem tile from the pool (marked with a brown circle) with a matching Construction symbol and place it Undamaged side face up (Undamaged icon) on the chosen space.
Note: You may still place a Golem if its adjacent Constructor tile with the matching Construction symbol is Netted.
Example: At the beginning of his turn, Greg drew a Construction marker and tiles: Battle and Rune of Repair. He decides to place a Golem, so he chooses the Officer Constructor tile (1) on the board, and then a free space adjacent to it (2). He spends a Construction marker (3), to finally place a Stone Golem (4) on the chosen space with its Undamaged side face up (Undamaged icon). He chose the Stone Golem because it has the same Construction marker (Construction symbol) as the Constructor tile (Construction symbol).
Damaging the Golems
Undamaged Golems (Undamaged icon) do not receive Wounds like normal Champions do. No matter how many wounds a Golem would receive during an Initiative Phase, they are not removed, but instead are flipped to their Damaged side at the end of the Initiative Phase with its orientation remaining unchanged.
The Wounds inflicted by Order tiles (no matter the number of Wounds), only flip an Undamaged Golem to its Damaged side.
If a Golem is already on its Damaged (Damaged icon) side and receives any Wound, it is removed from the board at the end of the Initiative Phase.
Game effects causing Elimination (such as Morlock's attack), remove a Golem from the board regardless of if it is Damaged or Undamaged.
Every Golem removed from the board returns to the Golems' pool.
Example: The Harbingers of the Forest player activates a Battle: in Initiative 3 they inflict 2 Wounds to the Stone Golem, which is flipped to its Damaged side (with its orientation unchanged on the board). In Initiative 2 the Stone Golem attacks the Assassin and receives a Wound from Spark. Because the Stone Golem is already Damaged, it is removed from the board and returns to the Golems pool.
Example of Trample: Kate uses the Trample Order. To do so, she chooses the Mercury Golem. She may Trample the Pikeman (which would result in pushing him back), but she decides to Trample the Knight. All of the spaces the Knight could be pushed back to are filled, so it is eliminated from the board, and the Mercury Golem moves to its space and may not be rotated (you will find the description of Trample on the faction sheet).
Repairing the Golems
The Banner and the Rune of Repair allow Damaged Golems to be repaired. Once a turn each of them allows you to flip a joined Damaged Golem (Damaged icon) back to its Undamaged side (Undamaged icon) keeping its position and orientation unchanged.
Example: On their turn, the Golems' player decides to repair a Damaged Stone Golem (Damaged icon), that is joined with the Banner. They flip it to the Undamaged side (Undamaged icon) keeping its position and orientation unchanged.
Example of Castling: Martha decides to use Castling. She chooses her Banner (adjacent to the Mercury Golem), and switches their position, remembering that she may not rotate any of them in the process (you will find the description of Castling on the faction sheet.)
Monoliths
If Monoliths are used in the game, the Golems' player has 2 choices of what they may place in the Monoliths: Runes and Champions that are not Golems (with the exception of Clay Golems that may be placed) OR a pair of tiles with the same blue and brown Construction symbol. It is important to remember that the Golems pool is face up, so your enemy may know which Golem is in the Monolith.
Golems staying in the Monolith may use Trample following the normal rule of Inseparability.
More Tactical Game
During their turn, Golems player draws 1 Construction marker and an appropriate number of tiles from the stack, so that the number of Construction markers and tiles equals 6.
Golems player cannot have more than 3 Constructor markers. In case of already having 3 markers player draws only tiles until the sum of tiles and markers equals 6.