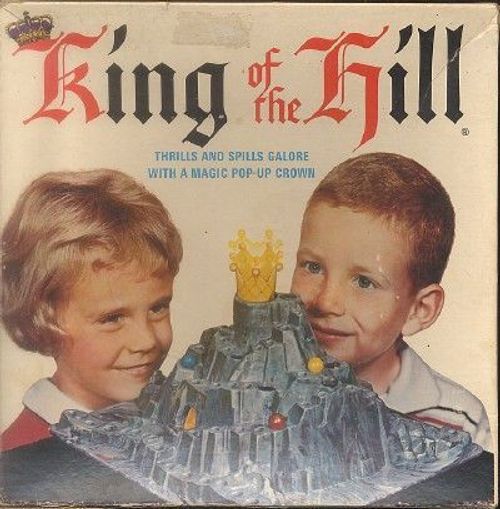
King of the Hill (1958)
King of the Hill (1958) Rulebook
Table of Contents
Table of Contents
Object
Be the first player to move both of your marbles from Start, around the hill, and into the Finish Zone.
Equipment
Hill, 8 colored marbles (2 for each player), Tipper ("teeter-totter" that determines your move), Finish Zone label.
A path of spaces winds around the hill and its crater. Some spaces along the crater's edge are marked with arrows. A marble that occupies an edge space is in danger of being knocked into the crater (explained below).
(The equipment diagram labels the "Finish Zone Sticker" on the hill.)
Setup
Place the Finish Zone label on the floor of the finish area. Open the drawer to reveal the marbles. Each player has two marbles of the same color. Take turns tilting the Tipper; the player who gets the highest number ("J" stands for jump and is higher than 6) will go first. Play passes to the left.
Play
-
On your turn, tilt the Tipper and move one marble the full number of spaces indicated by the slot where the ball comes to rest (your "roll"). "Start" counts as the first space when entering a marble. After both of your marbles are on the path, you decide which one to move.
-
Hopping Forward: If your marble would land on a space occupied by another marble, "hop" your marble ahead to the next empty space and end your turn. Should your marble encounter a "line" of other marbles, hop it to the empty space immediately beyond. (You might advance many spaces!)
-
Knocking a marble into the crater: There is one exception to the "hopping forward" rule. If you land on an edge space occupied by another marble (including your own), stop on that space and knock the other marble into the crater, then take its space.
-
Jumping: If you roll a "J," you jump your marble ahead 1–10 spaces (your choice).
The Crater
When a marble is knocked into the crater, it will spin around and fall into the center hole. A hidden tunnel will bring the marble to one of the three corner caves. Each cave has two spaces. After the marble comes to rest, pick it up and place it back on the path where indicated by the cave space (this is always the space on the path directly above). If that space is occupied by another marble, hop your marble forward. Falling into the crater might advance your marble; often it will set it back!
Winning
You win if you are the first player to get both of your marbles into the Finish Zone. Once in the Finish Zone, a marble is safe.
The Finish Zone
There are five numbered spaces in the Finish Zone. You may move your marble into the Finish Zone if your roll carries it to one of these spaces. However, as marbles enter the Zone, these spaces become occupied. You may not move into the Finish Zone if your marble would land on another one already in the Zone. If your other marble is already in the Zone, or can't move for this same reason, you lose your turn. For example, let's say your marble is two spaces away from the Finish Zone. Three other marbles occupy spaces #5, #4, #3. Only spaces #2 and #1 are open. To enter the Zone, you must roll a three, a four or a "J."
Special 2 Player Game
Each player has two sets of marbles (4 marbles in all), and moves one of each on alternating turns. First to get THREE marbles into the Zone wins.