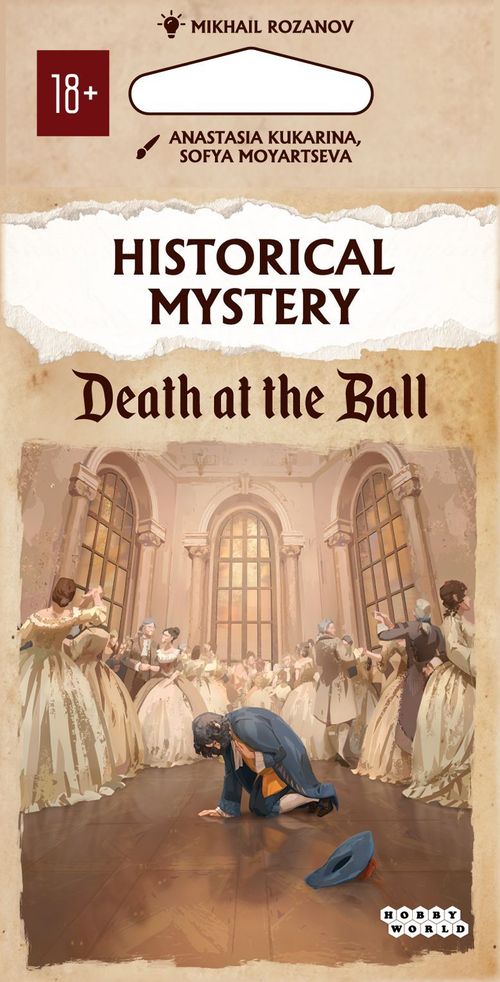
Historical Mystery: Death at the Ball
Historical Mystery: Death at the Ball Rulebook
Table of Contents
Table of Contents
Components and Overview
Important: do not look at or shuffle the cards until you have read the rules.
- Players: 1–4
- Age: 18 and up
- Playtime: 60–90 minutes
- Contents: 56 cards and the rulebook
Setup
Starting the Game
-
Each card in the game has two numbers in its upper left corner: the deck number and the card number. There are 15 numbered decks in the game, each with a different number of cards. Every deck starts with card 1.
Deck number and card number are marked on the card (labels in the rulebook illustration).
Without shuffling or turning cards over, separate the decks from each other and place them face down in front of you. You should end up with 15 decks, each with card 1 on top.
After you lay out a deck, examine the images on the cards and read the captions (but do not turn the cards over yet).
The top card of the deck is marked: "This is the top of the deck. Do not shuffle or look at the cards." The card 1 of deck 1 is marked: "Read the rules, and when you are ready to play, turn this card over."
-
Prepare a phone with a QR-code reading function, or install any photo app that can read QR codes. It will be needed at the end of the game. An internet connection is also required.
Everything is ready. Read the rules to the end before you start playing.
Tip: pay close attention to the illustrations; clues may be hidden in them.
Start of the Game
Take card 1 of deck 1, turn it over, and read the introduction. Then follow the instructions on the cards.
Card text may contain deck numbers, for example: Gaspard Azaïs 2. This means you may lay out the deck with that number: turn the top card of the deck face up, and lay the remaining cards from that deck out in a row without turning them over. It is best to lay out decks right away, as soon as you receive the instruction.
Example: a laid-out deck 2. The top card is face up, and the remaining cards lie in a row face down.
After you lay out a deck, examine the images on the cards and read the captions (but do not turn the cards over yet).
Then, together, discuss which cards are worth turning over to gather information for the investigation. Many cards cost 1 action to examine, and you have only 24 actions for the whole game.
Starting with the youngest player, each player in turn chooses which card to turn over. Discussing the course of the investigation and putting forward theories may be done out of turn.
Read the "Actions" section and begin the investigation! If you encounter unfamiliar symbols on the cards, check the "Card Symbols" section.
Actions
Face-down cards in the laid-out decks carry information on their reverse side. It may be useful or useless for the investigation. To study it, you must turn the card over; however, many cards are "paid" cards: you spend 1 action if you turn them over.
You have 24 actions for the whole game. As soon as they run out, stop the game and go to the section "End of the Game".
- An arrow without an hourglass means that you may turn the card over and get information for the investigation without spending an action.
- An hourglass next to an arrow means that you spend an action if you turn the card over.
When you turn a card over for an action, the spent action is marked with an hourglass symbol in the upper right corner of the card. After each turned card, count how many actions you have spent. As soon as you reach 24, stop the game and go to the section "End of the Game".
Example: if you have turned 3 cards with hourglasses, you have spent 3 actions.
Tip: for convenience, you may take 24 coins, divide them among all players, and place one coin on each card turned over for an action. As soon as the coins run out, stop the game. You may also make marks on paper. This is optional, but it may make counting spent actions easier.
On your turn, you decide for yourself which card to examine now, and you are not required to turn over every card. If you have turned a card over, you may at any time look at the information on its other side, but count that card when you tally your actions.
Tip: when questioning characters, pay attention to their emotions. They show how the character reacts to your question.
Card Symbols
If a card has a warning sign next to an action, this means that you may turn the card over only under certain conditions, which the game will tell you about. You may first need to obtain additional information from other decks. Pay attention to the hourglass symbol: in such cases, cards may also spend or not spend an action.
Example: a card whose action is blocked with a warning sign. The text on the card reads: "You cannot turn this card over until you get the information."
Pointing to a specific card is written as follows: the first number is the deck number, and the second number is the card number. For example, 8 and 3 means card 3 from deck 8.
Example card instruction: "Lay out decks 2, 4 and 13" and "Take card 3 from deck 15 and study the portrait of the victim." The list at the bottom of a card shows all the decks you may lay out.
The hourglass in the upper right corner of a turned-over card means that you spent 1 action. As soon as you spend 24 actions, the game ends.
End of the Game
Take card 1 from deck 15 and turn it over. Scan the QR code with the questions.
Read the questions aloud. Then each player offers their own answers to each question. You may have different versions.
At this stage you may no longer lay out decks or turn over new cards: you must answer based only on the cards already turned over.
When you are ready, take card 2 from deck 15, scan the QR code with the answers, and read them aloud. Score points for your correct answers and check your result:
- 6 points. Excellent work! You have been awarded for the first successfully solved case in the history of the Paris police.
- 5 points. You solved the case and earned the praise of the Lieutenant General of Police.
- 4 points. You were close to the truth, but you did not manage to establish all the circumstances of the case.
- 3 points. You did not gather enough evidence to solve the case. Society doubts the competence of the Paris police.
- 0–2 points. Unfortunately, you failed the investigation and will be dismissed from your post.