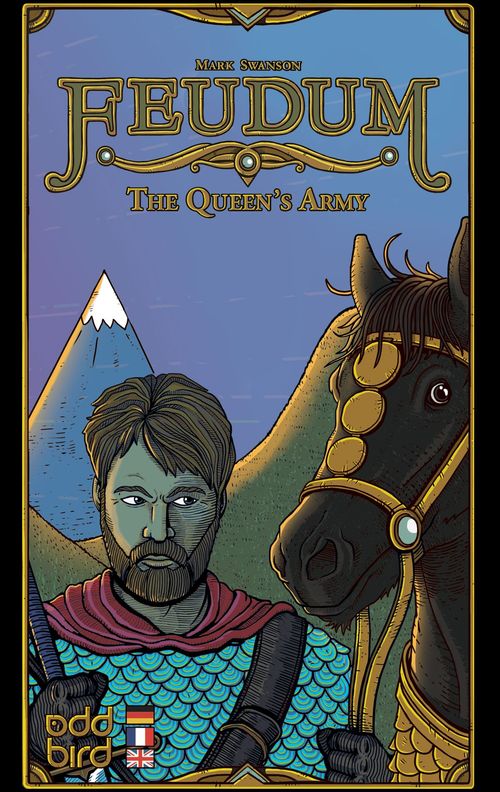
Feudum: The Queen's Army
Feudum: The Queen's Army Rulebook
Table of Contents
Table of Contents
The Bits
- 2 Black Pawns
- 1 Fate Die
- 50 Automa Action Cards
- 1 Horse
- 3 Rulebooks (German, French and English)
Setup
- Set up the game as usual but remove the behemoth Royal Writ. Give the Queen 3 green pawns (from the base game), 2 black pawns and the horse. Place her green player disc on the scoring track with yours and give her the Starting Player Marker.
Note: The Queen does not receive reeves, shillings, influence markers or goods at setup!
- Roll the Fate Die, the Progress Die and one of the Queen's green pawns to determine where to place her starting pawn. For example, if you rolled the "N", the Noble and the Mountains, place the Queen's Noble in the northernmost mountain space and place a green influence marker in the Noble Guild.
Note: Reroll the Fate Die if no direction icon appears!
-
Next, place your starting pawn, add an influence marker to the related guild, and choose 3 different goods from the haversack.
-
Roll the Fate Die and Progress Die to determine where to place the behemoth. Repeat this step to place the Queen's horse as well.
-
Shuffle all five numbered decks of Automa Action Cards separately. Place decks 1 through 5 in a row, leaving space between deck 4 and 5 to remind yourself that typically only 4 cards are played per round.
-
When you are ready, begin by playing the first card from deck 1.
Playing the Expansion
The Queen's Army is a solo player* variant that pits you against Queen Anne in an epic battle to score the most veneration points over five epochs.
First, her Majesty will ruthlessly target the bewitched King (the behemoth) in an effort to diminish your fame. After the King is dead (or by the dawn of the third epoch), she will mount her black horse to pursue your band of rebels with a vengeance.
The Queen plays the game with unlimited resources (goods, shillings, influence markers and king's seals) and no movement restrictions. Any actual resources she acquires along the way are put into her play area, and earn her veneration points!
Can you thwart her quest for the King's demise, while securing your own prestige? By the Sword of Leinad, you shall prevail!
* Multiple players may also challenge the Queen, but each scores individually.
The Automa Deck
The Queen's actions are governed by the Automa cards, which are played one at a time from each numbered deck, alternating with your actions until the round is over— just like the base game. A few unique differences include the following:
- She has no Defense or Repeat Actions, but has a Disperse Action.
- Only her Improve and Conquer Actions have a "special ability."
- She does not enter the Military Service or Epic Voyage tracks, nor does she use reeves.
- Alternate actions may take effect if her actions cannot be played (see Alternate Actions below).
- If a card from deck 3 features the sequential action icon, you must immediately draw and play the top card from the next deck (deck 4).
- If a card from deck 4 features the extra action icon, the Queen will play 1 additional action this round from deck 5. This is the only way she plays 5 cards in a round.
Ten Automa Actions
The Queen's action cards differ slightly from yours. Once you understand these differences, you are ready to begin the game.
1. Migrate Action
Roll the Fate Die, the Progress Die and one of the Queen's green pawns to determine the pawn character and where it will be added to the board. If all green pawns are already on the board, roll a black pawn!
Note: Each pawn must be a unique character and gain her membership in a new guild if possible.
2. Move Action
Move ALL of the Queen's pawns (not her horse) on the board 2 spaces towards the Behemoth — always using the shortest path (choose randomly if options exist). Her pawns and horse may move along any vessel route, including ferries with no restrictions! Once a Queen's pawn reaches the space with the behemoth, it ends its movement.
Note: The Queen ignores the Epic Voyage track.
The Queen's move action changes after the death of the behemoth, or upon reaching the third epoch. The Queen will now move towards the horse! First, move her horse up to 3 spaces towards your closest non-monster pawn (or your closest feudum if you have no pawns). Choose randomly if several options exist. Then, move all her unpinned pawns up to 3 spaces towards the horse! Once a Queen's pawn reaches the horse, it ends its movement.
Note: The horse does not take part in battle.
Be sure to pilfer resources for the Queen and put them into her personal supply. (Choose randomly if multiple pilfer options exist.)
Note: The Queen must fill her barrel with collected sulfur before it may enter her personal supply where it counts for endgame scoring.
3. Influence Action
Add 1 or more green influence markers to each location containing a Queen's pawn, per the base game rules. Draw her influence markers from the general supply before using any she has collected through trade or loss. Markers are limited to 20.
4. Improve Action
Always improve one of the Queen's ruled towns if possible, followed by a farm, and then an outpost. If a location cannot be improved, place one of her collected landscapes beside one of her serfs. (She always collects landscape resources, paying 1 tribute good to the ruler.) As before, flip a coin or roll a pawn, Progress and/or Fate Die if multiple options exist.
Important: A feudum must gain her membership in a new guild if possible!
5. Explore Action
If the Queen rules an outpost, draw 1 Royal Writ from the deck, and place it face up in her play area. Mandates are ignored but count as 1 vp at the end of the game. Charters are considered "sealed" and also score at the end.
This action is unplayable if the Queen has 3 writs.
6. Harvest Action
If the Queen rules a farm, draw the correct number of goods from the haversack (bearing in mind her collected rosary beads), and place them on her most bountiful farm, scoring 1 vp. The Queen always takes the favor, and therefore, a rosary bead always flips to a king's seal.
7. Tax Action
If the Queen rules a town, draw the appropriate number of shillings and place them into her personal supply.
8. Conquer Action
Scan the board to see which of the following conquer options are possible. Attempt each option in the order listed, scoring points as described:
- Conquer Behemoth, 11 vp
- Conquer Sea Serpent, 2 vp
- Conquer Feudum, 4 vp
- Conquer Pawn, 2 vp
- Starve the People (Conquer serf/subject), 0 vp
If a successful conquer is not possible, continue down the list in order until one occurs, or no conquer options remain. Choose randomly if multiple options exist.
Note: Players may tame, but not attack, the behemoth. The Queen may not tame any monster. If conquered, the behemoth dies and is removed from play. All other rules for monsters apply.
The Queen's pawns have the following attack/defense capabilities:
- Pawns may add +1 saltpeter and Knights are unlimited (like in the base game)
- Black pawns (even non-knights) have unlimited saltpeter! No actual resources are required.
Note: The Queen does not need to enter the military service track, and never loses points for disloyalty. Her use of saltpeter is figurative and no actual saltpeter is required.
9. Guild Action
Roll the Fate Die to see which guild function (Trade, Push or Pull) the Queen will perform. If any function is impossible to accomplish, reroll until it is possible. Then, roll a spare pawn to determine the guild in which the function is performed. Reroll or flip a coin to narrow in on a single guild that permits the guild function to be performed.
Trade
The Queen trades with guilds using unlimited shillings from the general supply! She sets aside all collected resources, including shillings paid to herself, for endgame vp. She follows the regular rules for trading, with the following exceptions:
- Merchant Guild: Purchase 3 different goods randomly
- Alchemist Guild: Purchase a vessel randomly
- Noble Guild: Purchase 2 king seals
Push / Pull
The Queen pushes/pulls resources from guild to guild to score maximum points following the rules, with the following exceptions:
- Alchemist/Knight Guild: Invent barrels if possible, followed by vessels
- Knight/Noble Guild: Select opponent influence markers randomly, avoiding the Queen's markers if possible.
10. Disperse Action
Find the space with the most pawns belonging to the Queen and relocate them one by one to new spaces by rolling the Fate Die and Progress Die. If spaces are tied for the most pawns, determine randomly.
Note: Even if the "most pawns" is just a single pawn, the action still occurs. Ignore any pawns pinned by a monster.
Alternate Actions
If the Queen's action is unplayable (or unsuccessful in the case of a conquer action), she must attempt the next action in one of the looping sequences as shown. If no action is possible, her turn is over.
The printed diagram shows three looping sequences, read left to right:
- Conquer, Migrate, Move
- Harvest, Tax, Explore
- Improve, Influence
How Will It End?
Score endgame points as usual, with two exceptions. The Queen receives 1 vp for each mandate and 1 vp for any combination of 3 of the following items in her personal supply: goods, vessels, influence markers, king's seals, rosary beads, shillings and region tiles. The margin of points between you and the Queen determines your fate!
- Tied with her: A vexing standoff.
- 1-9 ahead of her: Be revered by the people.
- 10 -19 ahead her: Become a wealthy vassal.
- 20 -29 ahead of her: Become a celebrated noble.
- 30+ ahead of her: The Queen surrenders her throne to you.
- 30+ behind her: You are beheaded.
- 20-29 behind her: You are locked in the dungeon.
- 10 -19 behind her: You are exiled.
- 1-9 behind her: You escape with your life.
Difficulty Level
- Easy: Ignore sequential/extra actions + start with controlled behemoth.
- Normal: Regular rules.
- Hard: Queen always takes fifth action.
- Absurd: Take fifth action + migrate 1 pawn at the dawn of each epoch if possible.