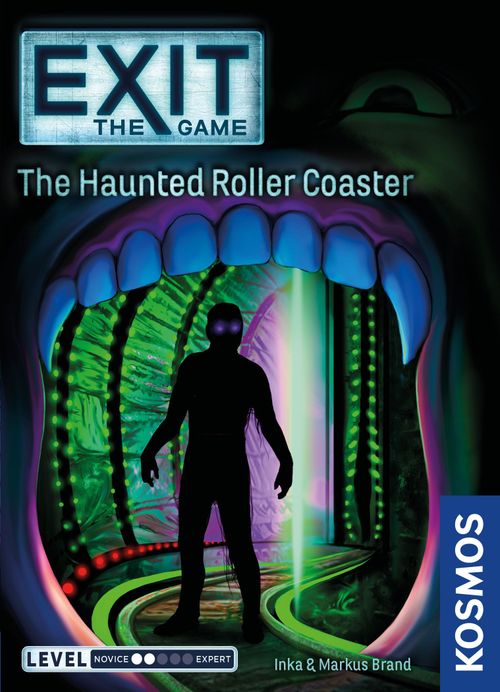
EXIT: The Game – The Haunted Roller Coaster
EXIT: The Game – The Haunted Roller Coaster Rulebook
Table of Contents
Table of Contents
Game Materials
- 88 Cards, made up of:
- 30 Help Cards
- 30 Answer Cards
- 20 Riddle Cards
- 8 Odd cards
- 1 Book
- 1 Decoder disk
- 8 Strange items
- 6 Body parts
- 1 folded "Carnivora" sheet
- 1 Mysterious stranger (not pictured)
In addition, you will need something to write with (ideally a black felt-tip pen and a pencil), at least one pair of scissors, and possibly paper for taking notes. You will also need a watch, ideally a stopwatch — or you can use the digital timer with the atmospheric soundtrack available through the free Kosmos Helper App (Android, iOS, and Fire), along with a game tutorial.
Game Setup
Get the book and decoder disk ready on the table. Carefully remove the six Body Parts from the die-cut sheet and set them aside at the edge of the table along with the folded "Carnivora" sheet — these materials are not needed until later in the game.
Be sure not to look at the front sides of the cards just yet!
Sort the cards into three decks in accordance with what is written on their back sides:
- Riddle Cards (red)
- Answer Cards (blue)
- Help Cards (green)
Check to be sure that the Riddle Cards and Answer Cards are arranged in ascending order of their letters or numbers.
Separate the Help Cards according to their 10 symbols. Place each group of three cards sharing the same symbol one on top of another, with the "SOLUTION" card on the bottom, the "2nd CLUE" card on top of that, and the "1st CLUE" card on the very top. Then set the 10 Help Card sets at the edge of the table.
Where Is the Game Board?
This game has no game board! You will have to figure out for yourselves what you need to find in the game and what the rooms look like. At the beginning of the game, you will only have the book and the decoder disk available to you.
As the game continues, you will add the Riddle Cards — either to be found in illustrations, or referred to in the text. Whenever this happens, you can take the corresponding card from the Riddle Card deck and look at it.
Example: You see Riddle Card A illustrated in the book. Then, you may immediately take that card from the deck and look at it.
You may only look at an Answer Card after you have entered a code into the decoder disk and have been directed to the corresponding Answer Card.
You may likewise only use the Strange Items, the Body Parts, and the "Carnivora" sheet when explicitly told that you have found or need them. Until then, leave them at the edge of the table!
Course of Play
IMPORTANT: To solve the riddles, you can write on, fold, or cut the materials ... All of this is allowed, and sometimes even required. You can only play the game once — after which you will know all the riddles, and won't need the game materials any longer!
Your goal is to work together to escape from the Haunted Roller Coaster in as little time as possible. This would definitely be easier if there were not so many riddles all over the place that have to be solved in order for you to make any progress.
Solve the riddles in their proper order as you work through the book. You will keep coming across locked doors and objects. Each of these will display a symbol, and can only be opened with a three-digit code.
If you see a riddle, take a close look at the corresponding page of the book and the Riddle Card. Work together to think of how to solve the riddle in order to find the proper three-digit code. Then, enter the code in the decoder disk.
On the outer edge of the disk, there are 10 different symbols pictured. Each symbol stands for a code to be cracked. Pay attention to which symbol is shown on the cards and on the objects in the book!
Enter the code under that symbol on the decoder disk — starting on the outside and proceeding toward the center. A number will then appear in the viewing window in the smallest wheel on the disk.
This will indicate the number of the Answer Card that you are then allowed to look at.
Example: For the riddle with a particular symbol, you have come up with a code — say, 258. You enter this combination under the matching symbol on the decoder disk. In the little window, you will see the number of the Answer Card that you are then allowed to pull out of the deck and look at — in this case, 16.
Is the Code Incorrect?
If so, the Answer Card will tell you with an ✗. Check the symbol and the code. If that fails to help, take another look at the riddle and try to come up with a different code.
Is the Code Possibly Correct?
If so, you will get an Answer Card showing an overview of objects and cards.
Where Can You See the Code Symbol?
On the Answer Cards showing an overview, the doors and objects to be opened are shown in order — first in the left column from top to bottom, then in the right. Each locked door or object is marked with a symbol.
Example: You want to open the door with a particular symbol. So look for the door with that symbol on the Answer Card. It will then direct you to another Answer Card — in this example, Card 22. Find this card in the deck. Only this second Answer Card will tell you if the code is really correct.
Is the Code Really Correct?
If so, the second Answer Card will tell you how to continue. You will find one or more new Riddle Cards which you will be allowed to take from the deck and look at right away.
Is the Code Actually Incorrect?
Well, in that case you will land on an Answer Card with an ✗. Check the order of numbers in the code and compare the symbol on the decoder disk with the symbol on the Riddle Card. If the code is still wrong, take another close look at the riddle and try to come up with a different code.
IMPORTANT: Whether wrong or right — return all the Answer Cards back to the Answer Card deck when told to do so. You have to solve the riddles in the proper order! You can only proceed to the next riddle or page if you have solved the previous riddle and the instructions in the game tell you to do so.
All codes can be solved logically. You shouldn't just try all possible combinations on the disk.
Need Some Help?
Of course, the game can provide you assistance if you get stuck. For each code, there are three Help Cards that can be recognized by the symbol on their back sides:
- 1st CLUE — offers an initial hint and tells you which Riddle Cards you must have found in order to be able to solve the corresponding riddle.
- 2nd CLUE — gives you somewhat more concrete guidance toward the solution of the corresponding riddle.
- SOLUTION — reveals the solving approach and the correct code.
IMPORTANT: Always take the Help Cards for a specific Riddle Card or riddle in the book. These riddles are usually identified with a symbol (matching a symbol on the decoder disk). It won't help you to use Help Cards if you have not found a riddle with the corresponding symbol.
Don't be shy about using Help Cards if you get stuck. Once you have used a Help Card, place it face-up on a discard pile.
When Does the Game End?
The game ends when you have solved the last riddle and escaped from the Haunted Roller Coaster. A card will tell you that.
Just solving all the riddles is a major victory! If you also want to see how well you did, though, you can look at the table below. When calculating the number of Help Cards used, only count the ones that gave you NEW hints or solutions — if a Help Card only told you something you already knew, don't include it in the calculation.
| Time | No Help Cards | 1–2 Help Cards | 3–5 Help Cards | 6–10 Help Cards | > 10 Help Cards |
|---|---|---|---|---|---|
| < 60 Min. | 10 stars | 9 stars | 8 stars | 6 stars | 5 stars |
| < 90 Min. | 9 stars | 8 stars | 7 stars | 5 stars | 4 stars |
| < 120 Min. | 8 stars | 7 stars | 6 stars | 4 stars | 3 stars |
| > 120 Min. | 7 stars | 6 stars | 5 stars | 3 stars | 2 stars |
You can record your escape on the certificate provided: your names, the time taken, the number of Help Cards used, the star rating you earned, and which riddle you found the coolest and which the trickiest.
The Game Begins
What are you waiting for? Start the stopwatch or timer! Now you are allowed to open the book and start the game on page 2.
We hope you have a lot of fun with EXIT — The Haunted Roller Coaster!