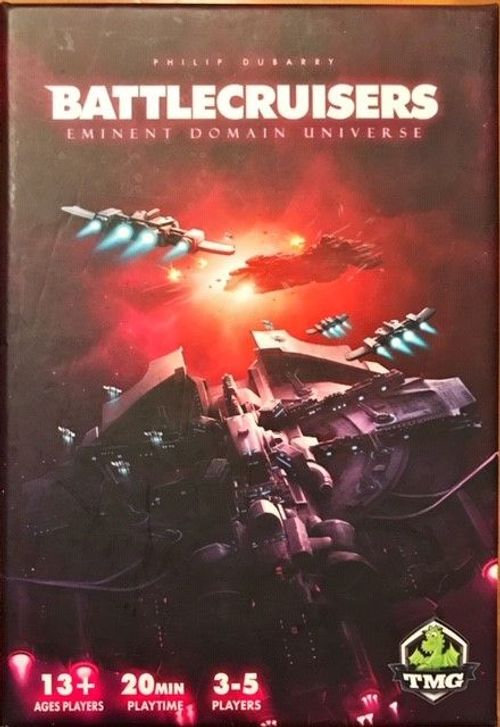
Eminent Domain: Battlecruisers
Eminent Domain: Battlecruisers Rulebook
Table of Contents
Table of Contents
Contents
- 170 cards (5 decks of 33 cards, one deck for each player)
- 34 victory point tokens
- 5 player mats
- 5 reminder tokens
Setup
Give each player a mat for organizing their play space (which should be placed Red-Alert side down in front of them), 1 Victory Point, and an identical deck of all the cards, with a border color matching their player mat. Then determine which set of cards are going to be used for this game — this can be done randomly or by mutual consent. There are also suggested sets at the end of these rules. If this is your first game, use #3, #11, #13, #22, #31, and #43 for three players, adding #29 for four and #17 for five players. Players should pull out the cards that are going to be used this game, and set aside the remainder.
Set Selection
- 3 players = 6 cards
- 4 players = 7 cards
- 5 players = 8 cards
Play
Once everyone has pulled out their identical hand of cards for this game, each player then adds a face-up card at random from their hand to their Recovery Zone (RZ), and a face-down card at random from their hand to their discard pile. Place the remaining Victory Points close at hand, along with the reminder tokens.
Experienced players may choose which cards are used during setup, however it is recommended not to include more than two [negation] cards in any given set. The negation cards are: 3-10, 26, 36, 37, and 40; and they all have a negation symbol printed in their corner. Experienced players may also choose the card that goes in their Recovery Zone at the beginning, revealing their choices simultaneously, then discard a card at random as normal.
To play a round, each player must select one card from their own hand and play it face down. Once each player has selected a card, all cards are simultaneously revealed. Cards are then resolved, lowest number to highest number. When it is time to resolve your card, If no-one revealed the same card you did, resolve the top portion of the card text (Main Effect). If one or more players revealed the same card you did, all such players resolve the bottom (Clash Effect) section instead.
Things to Keep in Mind When Resolving Cards
- If cards must be discarded, they are placed face down in your personal discard pile. You may look at cards in your own discard pile.
- When an effect causes you to discard a card, you may discard a card of your choice from either your hand or from your Recovery Zone, unless otherwise specified by the card.
- Victory Points are not required of a player who has none.
- You must attempt to resolve as much of your effect as possible. For example, if you only have 3 points and are forced to lose 4 points, you would lose as many as you could and thus go to zero points.
- If a player is "ignoring" an effect, the effect will not directly cause that player to have their cards or Victory Points added to, subtracted from, transferred between players, transferred between zones, or looked at if they are not already public knowledge. They also cannot be disabled by the effect, and they are not considered when determining who has the most or least of something, and if you would have to pass something to them, pass it to the next eligible player clockwise instead.
- If there is a tie for "most" or "least" of something, all tied players are affected equally unless specified on the card that only the player with the single most or the single least is to be affected.
- The reminder tokens can be used to help you remember if you are still protected or disabled by an effect from the previous round. These are provided for convenience, and should be used as you see fit. You can't be disabled two turns in a row, which means you may not be chosen for disabling effects.
- A card must be in play in order for its effect to resolve.
- If a card is looking for a particular symbol, it is only checking the symbols in the corner, not in the text of the card's ability.
End of Round
After all cards have been resolved, Check to see if anyone enters red alert or is eliminated, then return cards from RZ's to players' hands (check these things in this order):
- If you have a card that says it is discarded if it's your only card (meaning the only card left total when looking at your hand, Recovery Zone, or in play), that effect triggers now whether or not you played the card this turn.
- If you have NO remaining cards in your hand, Recovery Zone, or in play at this time, you are eliminated from play, along with your Victory Points, and ignore all further effects EXCEPT for those involving your discard pile, which remains in play as a remnant of your once-great fleet.
- If you have only 1 card left total when looking at your hand, in play, and Recovery Zone, flip your player mat over to the Red Alert side. While your mat is on the Red Alert side, your "Card in Play" zone is now also your "Recovery Zone". This is important for two reasons – you are able to play your single remaining card every turn now, and you can now be forced to discard your remaining card.
- If you are already on the Red Alert side, and you have more than 1 card remaining at this time, flip the mat back over to the normal side.
- Players return all cards from their RZs (if there are any present) to their hands. Some card effects may cause more than one card to be in your RZ at the same time. Then players move their card in play into their RZ.
- If a player has 15 Victory Points at this time, or if they are the last player who has not been eliminated, they win! (see "Winning" below).
The round then ends, and a new round begins.
Winning
The player who has secured 15 Victory Points at the end of a round is the winner. A player may also win if all other opponents run out of cards and are eliminated. How many Victory Points you have is public knowledge. In case of a tie (whether from simultaneous victory or elimination), whoever has the most Victory Points amongst tied players is the winner. If there is still a tie, whoever has the most cards in hand is the winner. If players have the same number of cards and Victory Points, whoever has the highest total of all resolution numbers in hand is the winner. If there is still a tie, the battle is not over — play another game to break the tie!
Interminable Game
If neither player can win, the game ends and everyone loses. If you're not sure, a good rule of thumb is to say that the game is interminable if 5 rounds pass with no player gaining a point or discarding a card.
Suggested Sets for Experienced Players
Suggested sets for experienced players (remember that the 7th and 8th cards listed in each set are only used when playing with 4+ or 5 players, respectively):
- Basic: 3, 11, 13, 22, 31, 43, 29, 17
- The Big Bang: 2, 3, 6, 12, 15, 31, 33, 34
- Crouching Liger, Hidden Dargon: 1, 4, 19, 30, 31, 39, 43, 9
- Friendship Breaker: 5, 6, 11, 28, 29, 31, 39, 34
- Clash of Captains: 1, 3, 20, 32, 34, 40, 13, 45
- The Bad, the Worse and the Ugly: 11, 16, 22, 23, 31, 43, 8, 9
- Politics in a Space Fight: 12, 38, 30, 33, 20, 22, 11, 9
- The Fast and the Fury: 6, 37, 38, 39, 19, 20, 23, 34
- A Leaf on the Wind: 1, 5, 13, 22, 30, 40, 2, 7
- Pirate Cove: 1, 4, 20, 32, 34, 40, 30, 17
- Scorched Space: 9, 20, 23, 33, 38, 39, 28, 16
- Final Mission: 11, 15, 16, 19, 22, 31, 44, 9
- Glorious Victory: 7, 12, 13, 17, 23, 37, 5, 22
- Tech Warfare: 6, 16, 29, 30, 33, 43, 1, 9