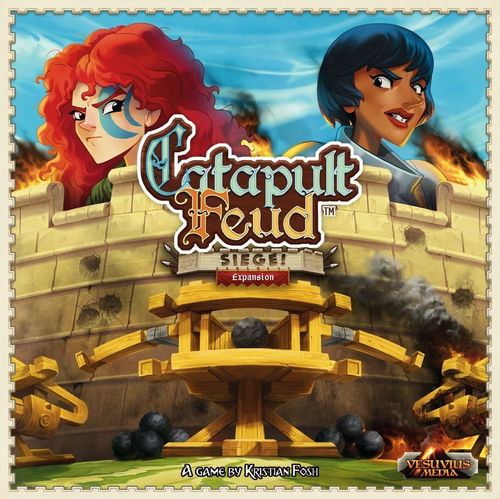
Catapult Feud: Siege! Expansion
Catapult Feud: Siege! Expansion Rulebook
Table of Contents
Table of Contents
Expansion Overview
The Siege expansion requires the Catapult Kingdoms core game.
Combine the contents of the Catapult Kingdoms core game and the Siege expansion. During setup, players choose a family and take their respective bricks, gates, parapets, troops (any combination of 5 troops from the same family), a player board, a catapult, a ballista, and one of each type of Action Card. Follow the remaining Catapult Kingdoms core game setup and rules. Any rule that affects bricks applies also to gates and parapets.
Components
- 2x Ballista (weapon)
- 12x Action Card
- 4x Boulder
- 5x Chauffort Troop
- 2x Chauffort Gate
- 4x Chauffort Brick
- 6x Chauffort Parapet
- 5x Cunningfields Troop
- 2x Cunningfields Gate
- 4x Cunningfields Brick
- 6x Cunningfields Parapet
Siege Game Mode
This is a new game mode that can be played with 2 to 4 players, following the rules below.
Game Setup
-
Place 2 player boards adjacent to each other. Then, starting with the youngest player, take turns placing one brick at a time, building a single massive fortress, following the Brick Placement Rules. You must place ALL bricks within the borders of the combined player boards.
-
Starting with the youngest player, choose a weapon (Catapult or Ballista), take 3 boulders, and select your personal rival team (5 miniatures). These are the minis you want to knock over! Your selection of miniatures will be determined by the number of players (mix and match families or 5 of each mini type per player). Each player then sits 1.5m (5ft) away from the fortress.
-
Starting with the youngest player, take turns placing one troop at a time on the fortress, following the Troop Placement Rules. Each player places 4 troops, keeping one beside their weapon (this place we will call the Reserve) to remember which minis you will target.
Gameplay
In Siege mode, there is no Tactics Phase and you do not use Action Cards. The remaining Catapult Kingdoms core game rules apply, with the addition of the following to the Cleanup Phase: Every troop or brick you remove that matches your personal rival team, goes in your Reserve. If you knock over your opponent's rival troop, the troop goes into their Reserve. If you knock over a brick that isn't your team's color, those bricks go into the box AND, as punishment for your sloppy aim, you put one of the bricks from your Reserve (if any exist) back in the fortress, following the Brick Placement Rules! The game ends as soon as one player knocks down all the troops of their personal rival team. You then calculate points to find the winner. In your Reserve, each troop awards you 2 points, each brick awards you 1 point.
Scoring Example: You score 10 points, 2 for each of the troops and 1 for each of the bricks in your Reserve.
Action Cards Reference
-
Sabotage: Your opponent's weapon is damaged. Place this card in front of one of your opponent's weapons. This weapon may not be fired during your opponent's next turn. Discard this card at the end of their turn.
-
Reinforcements: Take one of your troops from the box and place it following the Troop Placement Rules.
-
Repair: If there is a Sabotage card in front of your weapon, discard it. From now on, the weapon can be used normally.
-
Long Shot: After you finish your Fire Phase this turn, move your weapon at a distance of 1 behind your player board, load it and fire it again!
-
Diplomacy: Discard this card, to pick a card from your discard pile and add it to your hand. You may immediately play one action card from your hand.
-
Just a scratch: Place this card in front of you face up. The next time one of your troops should go into the box, place them back in a new position, following the Troop Placement Rules, and discard this card.
Assembling the Ballista
Place the ballista parts on a flat surface and take one elastic band from the box.
- Parts: Base, Barrel, Seat.
- Pass the elastic band through the seat's hole.
- Place the seat inside the barrel and pull the elastic band through. Stretch the elastic band around the bow holders.
- Look at the image to see how the final result should look. Now, place the barrel on top of the base, and you are ready!
Note: the sheet prints the number "3" under the final assembly photo, which repeats step 3 as printed; it is transcribed here as a closing image, not a separate step.
If you need further instructions, watch the weapon assembly videos on www.vesuviusmedia.com/catapultkingdoms