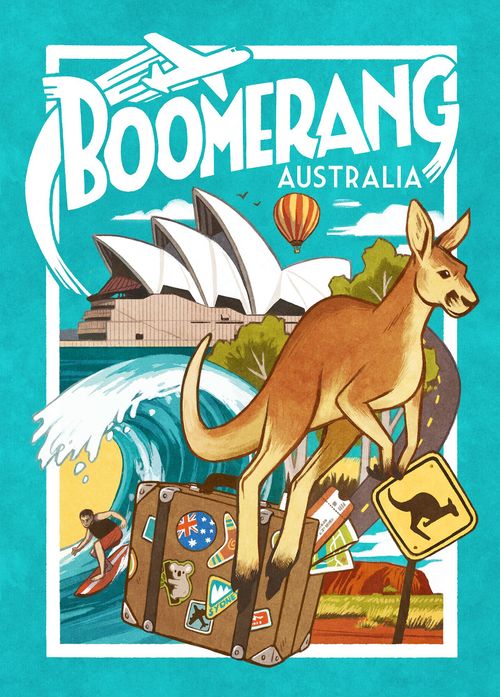
Boomerang: Australia
Boomerang: Australia Rulebook
Table of Contents
Table of Contents
Components
- 28 cards
- 4 pencils
- 1 score pad
Setup
- Give each player a sheet of paper from the score pad, and a pencil.
- Shuffle all the cards, place them in a face-down deck, and you are ready to begin!
What's on a Card?
Each card shows:
- Throw number — the number in the corner used for the Throw & Catch score.
- Scoring icons — the animal, collection, or activity icons found on the card.
- Map location — the letter showing where on the map of Australia this tourist site is found.
- Name of tourist site — the name of the location depicted on the card.
Game Play
The game will be played over the course of four rounds. During each round, players will draft from a hand of cards in the hopes of scoring in five different categories.
At the end of each round, players will record their scores and then the cards will be shuffled again. After four rounds, the players add up all their scores and determine the winner!
Every round, follow these steps:
- Deal seven cards to each player
- Players select their Throw cards
- Players pass and draft 6 more cards
- Players score
In detail, this is what happens during each step...
1) Deal seven cards to each player
To begin each round, simply shuffle the 28 cards and deal each player a hand of seven cards. If you are playing with less than four players, there will be some cards left over. Place these face down and away from the players. They should not be looked at until the start of the next round when all 28 cards will be shuffled together again.
2) Select a Throw card
After receiving their seven cards, players should look at their hand and select a Throw card. Each player places their chosen Throw card face-down in front of themselves. This card will form part of a player's score for the round, but unlike the other cards players will select, the Throw card is not revealed to the other players until the round ends. (You may always look at your own Throw card.)
Your main goal when selecting a card to be your Throw card is to score a good Catch at the end of the round. This is done by regarding the numbers at the top left of every card (cards are numbered 1-7). You will compare the number on your Throw card to the number on your Catch card (the last card you receive - see below), and you will score the difference as points.
3) Players pass and draft cards
Once each player has selected a Throw card and placed it face-down in front of themselves, they pass all the remaining cards in their hand, face-down, to the player on their left. Every player will then look at the new hand of cards, select one card from it, and place it face-up in front of themselves, next to their Throw card.
After this is done, pass your hand (now containing five cards) to the left again. Every player will then select another card, place it face-up next to their other chosen cards, and then pass the hand once more.
This continues until there is just one card remaining in each player's hand. That one card is passed to the left and instantly added to that person's face-up row of cards. This final card will be known as each player's Catch card (see below).
4) Players score
Now players score their results from the round. Every player will calculate their scores for the round on their personal score sheets. There are several different categories of scoring, and each player's score for the round will be determined by the seven cards they drafted during the round.
In detail, these are the different ways players will score at the end of each round...
Throw & Catch
To begin scoring, compare the number on your Throw (first card) and Catch (final card). Score the difference between these two cards as points.
Enter this score every round at the top of your score sheet.
For example: If your Throw card has a 4 as its number, and the final card you receive as your Catch card has a 1 as its number, you would score 3 points this round for your Throw & Catch (because 4 – 1 = 3.) Likewise, if your Throw was 1 and your Catch was 4, you would also score 3 points.
Tourist Sites
For each site you have 'visited' this round (the locations depicted on each card you drafted), cross out its corresponding letter on the map on your score sheet. At the end of the game, you will get one point for each site you visited.
In addition, the tourist sites are divided into seven regions (Australia's six states and the Northern Territory), with four sites in each group. If you are the first to complete a region (by crossing out each site found within it), then you will also receive a 3-point bonus.
Announce this to the group while scoring your sites and cross out the region's '+3' bonus star as a reminder. All other players should scribble over the '+3' star as a reminder that the bonus has been taken by another player and can no longer be won.
Note: If multiple players finish the same region at the end of the same round, then they all earn the bonus.
Also note: You may collect the cards of sites you have already visited on future rounds, however you will not cross out the site on your map again, nor will you score any points for visiting the same place more than once.
Collections
Many cards also show green icons, referring to things you have collected on your travels. Each item has a value associated with it: Leaves are 1, Wildflowers are 2, Shells are 3, and Souvenirs are 5. Add up all the values of each item you collected on your cards this round.
If the total for your collections is 1-7, then you double that number as your score for that round. If your value is over 7, you only score your collection number as points. Don't think it's a good thing to fly home with overweight baggage!
For example: If Scott has collected 3 cards with Leaves, and 1 card with Shells, his Collections total is 6 (3 + 3 = 6). His score will be 12 for the round (6 x 2 = 12)! Alternatively, if Rachel collected 2 Wildflowers cards and 1 Souvenirs card, her Collections total will be 9 (4 + 5 = 9). Her score will be 9 as well, because you don't double your Collections value if it is over 7!
Total what you score for your Collections this round (doubling that number if you totalled 7 or less) and mark it in the next available square in the Collections row of your score sheet.
Animals
For each pair of matching yellow animal symbols on the cards you drafted this round, you score the points marked on that animal (Kangaroos are 3, Emus are 4, Wombats are 5, Koalas are 7, and Platypuses are 9).
Total what you score for all the matching animal pairs you collected this round and mark it in the next available square in the Animal row of your score sheet.
For example: Kangaroos are marked with 3. So, if you get a pair of roos you score 3 points (not 6). If you only have one animal of a type, you don't score anything for it. Three-of-a-kind would only score as if you had two. Four-of-a-kind would score twice, as you have two pairs.
Activities
Finally, check the blue Activities icons on all the cards you drafted. Scoring Activities is optional. For any single Activity you would like to score each round, count how many icons of that Activity you have on your seven cards, and score the corresponding points as per the table at the bottom of your score sheet.
Write your score in the square under the matching icon in the Activities row of your score sheet.
For example: If you drafted three matching Bushwalking icons in the round and you decide to score Bushwalking, you would receive 4 points.
Note: You may only score one Activity per round, and you may only score each Activity (Swimming, Bushwalking, Indigenous Culture, Sightseeing) once per game, so if that Activity's space is filled it cannot be scored again!
The Next Round
At the end of each round, after everyone has finished scoring, collect all 28 cards, and shuffle and deal out a new round as before.
Note: If playing with less than 4 players, collect the cards used in the previous round, shuffle them, and place them in a face down deck below the cards that were set aside when dealing out the previous round. Then deal the new round from the top of the deck. This way the cards that were not dealt last round will definitely be in the next round.
Game End
After scoring the fourth round, the game ends. Players must add up all their scores in every scoring category, and then find their grand total by adding up all their category totals. (Don't forget to add the Tourist Sites and region bonuses!) The highest score wins!
In the case of a tie, the tied player who scored the most Throw & Catch points wins.
Direction Variant
To add more variation to the card drafting in a three or four player game, alternate passing cards to the left and then to the right each round.
Publisher's Notes
In order to create a more interesting and entertaining game, some locations on the cards depict animals, etc., that may not actually be native to these locations. We ask that Boomerang be treated as a game, not as an educational tool :)
Boomerangs are an Australian icon, now mostly used for sport, but originally used by indigenous Australians for hunting, combat, and many other daily uses. They are depicted in ancient rock art in northern Australia which could be up to 50,000 years old. The word 'boomerang' probably entered English via the language of the Turuwal people of the Georges River near Port Jackson (Sydney Harbour).