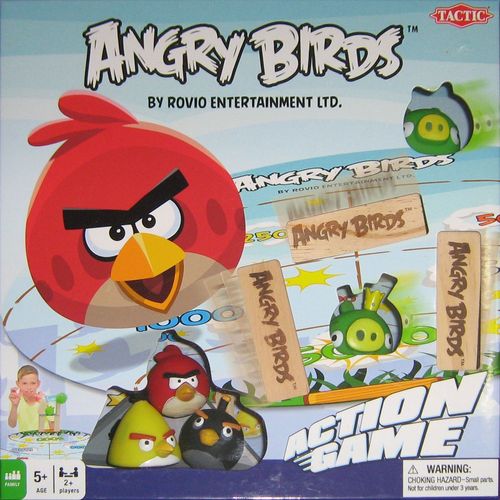
Angry Birds: Action Game
Angry Birds: Action Game Rulebook
Table of Contents
Table of Contents
Setup and Play Surface
The leaflet shows the play surface as a printed field with scoring zones marked 5000, 1500, 1000 and 250 and dashed lines across the field. A launcher (an orange plank on a grass strip) sits at one edge, and a dashed arrow shows the path of a launched bird.
Step 1: Build the Structure
Build a tower from the wooden Angry Birds blocks on the marked area of the play surface. The leaflet's illustration shows a tower of blocks with a green pig placed on top and a second pig placed inside the structure, on a flat platform block.
Step 2: Launch and Score the Zones
Launch the bird from the launcher so that it strikes the tower. The illustration shows a player flicking a bird at the structure, with a dashed arrow leading toward the 5000 zone. The zones printed on the surface are 5000, 1500, 1000 and 250; a pig that lands in a zone scores that zone's value.
Step 3: Knock Down the Tower
The leaflet shows the tower after a launch, with the blocks falling and a pig having come to rest on the field. Two figure tokens are shown standing beside the field, a blue figure at the left edge and a yellow figure at the right edge. Their positions are shown together with the scoring zones in Steps 4 and 5.
Step 4: Score the Pigs
The leaflet shows two results side by side, separated by a dashed line:
- Yellow figure, 250: a pig resting on the 250 zone scores 250 points, and the yellow figure stands for this result.
- Blue figure with raised arms, 1500: a pig resting on the 1500 zone scores 1500 points, and the blue figure stands for this result. A star is shown above the blue figure with this result.
The leaflet does not print how the stars are earned; it only shows a star with the 1500 result.
Step 5: Collapse and Final Positions
The leaflet shows the structure after a second launch, with blocks scattered across the field near the 250, 1000, 1500 and 5000 zones. The illustration does not print a rule; it shows the outcome that Step 4 then scores.
Step 6: Winning
Three stars equal first place. The leaflet shows three gold stars followed by "= #1".
Gap note: the leaflet does not state how many rounds make up a game or how the three-star win is reached. A BGG game description says that a player who wins 3 rounds wins the game. That statement is not printed on the leaflet and is recorded here only as the BGG description's wording; it is not transcribed from the leaflet.