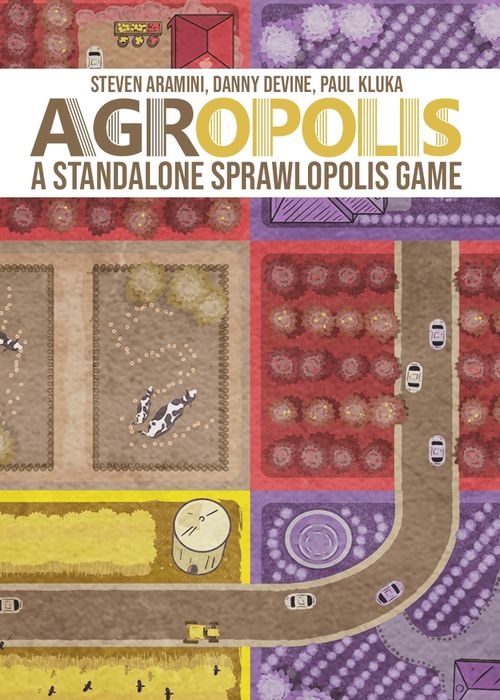
Agropolis
Agropolis Rulebook
Table of Contents
Table of Contents
Components
18 cards with blocks and scoring conditions
Setup
- Shuffle the cards and randomly set 3 off to the side with their scoring conditions face up. These 3 cards show the specific conditions that apply to this game. Ignore the scoring conditions on the backs of all other cards.
Each of the scoring condition cards has a unique number on it. Add these three numbers together. This gives the Target Score (the total points your team must reach or exceed in order to win).
-
Choose a start player and deal them 3 cards, keeping their "blocks" side face down. Deal 1 face-down card to all other players. Take your card(s) into your hand without revealing the "blocks" side to your fellow builders.
-
Set the remaining cards off to the side with the "blocks" side face up to form the draw deck. Note that this gives all players a preview of the top card in the deck.
-
Place the top card of the deck into the Build Area to start your map.
-
Play begins with the start player and continues clockwise.
Two Player Example Setup
The play area is laid out with a Build Area (where the map is built), the deck beside it, the two players' hands (Player 1 hand and Player 2 hand — do not reveal), and the three scoring conditions set off to the side. In the pictured example the three scoring conditions are numbered 2 (Country), 6 (Fruitful Endeavor) and 14 (Bacon and Eggs), giving a Target Score of 2+6+14=22.
Blocks
A "block" is defined as a rectangular quadrant in one of four types: cornfield (yellow), orchard (red), vineyard (purple), and livestock (brown). Each card has four blocks in each of the four zone types.
Pens
Each livestock block contains either a single pen or double pen. If a livestock block has a double pen, each pen is considered to be adjacent to that block's four adjacent blocks.
Roads
Each card contains either one or two roads. A "road" is defined as a continuous stretch of roadway that may be as short as one block long (before it dead ends at a block edge or the edge of the map) or several blocks long. Roads play an important role in your final scoring, as well as certain scoring conditions.
Building the Map
If you are the start player, choose 1 of your 3 cards in hand, reveal it and add it to the map with the block side face up. After playing your card, pass your 2 remaining cards to your left neighbor. They now have 3 cards in hand and become the start player for the next turn.
Finally, draw the top card from the deck so that you have 1 card in hand. If there are no more cards in the deck, continue playing with an empty hand. If you have fewer than 2 cards to pass when your turn is over, pass the remaining cards you have.
Continue until all 15 cards have been added to the map.
Placement Rules
On your turn, you must place a card so that at least one block edge meets an existing block edge OR you may place your card so that it overlaps or covers a block (or multiple blocks) with your new card.
You may NOT tuck a card under a card in your map.
You may NOT place a card so that it only connects to your map by a corner.
When placing a card, you may rotate it 180 degrees, but you must place the card horizontally.
Creating an open space or gap in your map is allowed, so long as you adhere to the above placement rules.
(The illustrations show three LEGAL placements — an edge-to-edge join, an overlap covering blocks, and a card bridging between two existing cards — and one ILLEGAL placement, a card touching the map only at a corner.)
Table Talk
Discussing cards is not only legal, but encouraged! You may discuss anything you want, but do not show your hand to anyone. Once you choose your card and reveal it, you must play it. But feel free to discuss placement!
Final Scoring
When all 15 cards have been played, your map is complete! Tally your team's final score:
BLOCKS: Your team scores 1 point per block in your largest group of each zone type. A "group" is a cluster of matching blocks connected by at least one edge. Only your largest group of each type is scored. If 2 or more groups of the same type are tied for your largest, you choose which group to score.
ROADS: Your team subtracts 1 point from your total score for each road in your map. Remember, a "road" is defined as a continuous stretch of a roadway.
Scoring Conditions
In addition to your base scoring, you also score points for each of the 3 cards you placed off to the side. Each has a unique scoring condition. It is possible to lose points rather than gain points with some conditions.
Add the total of your block groups, subtract the total of your roads, and add/subtract any points earned from your scoring condition cards to get your final score. If this final score equals or exceeds the combined value of your 3 scoring condition cards, you win!
For a full scoring example, as well as card-specific notes, visit: https://bit.ly/3bxFDGQ
Solo Play
Play is identical to the cooperative game, except you have one hand of 3 cards to work with each turn. After placing a card, draw a new card so that you have 3 cards and take your next turn. If there are no more cards in the deck, play until you run out of cards.
Feed Fees (Optional)
For a harder game, play with the Feed Fees. This additional requirement is found under the scoring goal on some cards. Count the number of matching livestock symbols below all of the game's scoring conditions and add that number to the Target Score. A game can have multiple Feed Fees added to its Target Score.
Example: Given these scoring conditions, Udderly Impossible has a Feed Fee for cows and there are 4 total cow symbols shown. If this game is played with Feed Fees, the Target Score is 3+6+15=24, plus the feed fee of 4, making a total of 28.
(The pictured scoring conditions are 3 — Udderly Impossible, 6 — Fruitful Endeavor, and 15 — Cornercopia. Udderly Impossible carries a "+1 / cow" Feed Fee icon beneath its number.)